How to Start a Finance Blog on WordPress.com (Beginner’s Guide)
Want to start a finance blog but don’t know where to begin? This beginner-friendly guide walks you through choosing a niche, setting up WordPress.com, creating content, growing traffic, and turning your finance blog into a profitable online business.

Finance is one of the most profitable blogging niches on the internet.
Every single day, millions of people search online for answers about saving money, investing, budgeting, debt repayment, side hustles, retirement planning, credit cards, taxes, and building long-term wealth, creating an enormous opportunity for new bloggers.
The best part is that you do not need to be a financial expert or have years of professional experience before starting a finance blog. If you are willing to learn, research carefully, and consistently publish helpful content, a finance blog can eventually become a serious online business.
In this guide, I’ll walk you through exactly how to start a finance blog on WordPress.com, even if you have never built a website before.
By the end, you’ll understand how to choose a finance niche, set up your blog properly, create content people search for, grow traffic, and monetize your audience over time.
Why Finance Is One of the Best Blogging Niches
Before jumping into setup, I just want to let you know that you made a great choice on wanting to blog about finance. Some blog niches are difficult to monetize, and finance is not one of them, it's what people call an evergreen niche.
The finance industry is filled with companies willing to spend large amounts of money acquiring customers. Think about it.
- Banks want customers.
- Credit card companies want signups.
- Investment apps want users.
- Insurance companies want leads.
- Accounting software companies want business customers.
- Tax preparation companies want users every year.
Because of this, finance bloggers often have access to some of the highest-paying affiliate programs online.
A finance blog can eventually make money through:
- Affiliate marketing
- Advertising revenue
- Sponsorships
- Consulting
- Paid newsletters
- Digital products
- Courses
- Membership communities
But beyond monetization, finance content tends to remain useful for a very long time. This long shelf life is what makes blogging so attractive compared to social media.
Step 1: Choose a Specific Finance Niche
The biggest mistake you can make as a beginner is trying to cover everything. The finance niche is enormous and filled with a very high competition.
Trying to write about every finance topic makes it difficult to build authority.
Instead, narrow your focus. You want people and eventually Google to clearly understand what your website specializes in.
Here are some strong directions:
1. Personal Finance Blogging
Personal finance is the broadest and most beginner-friendly option. You might write about saving money, budgeting, managing monthly expenses, frugal living, building emergency funds, financial planning for families and so much more.
It works well because nearly everyone needs help managing personal finances.
2. Investing Blog
Here you focus on teaching about wealth building.
Topics include stock investing, index funds, ETFs, dividend investing, retirement accounts and portfolio management. The monetization potential of an investing blog is extremely strong.
3. Debt Management Blog
A lot of people struggle with debt and creating content around:
- Paying off student loans
- Credit card debt reduction
- Debt snowball strategies
- Credit score improvement
- Debt consolidation
Will attract highly motivated readers.
4. Side Hustle and Online Income Blog
Here your focus is on helping people earn more money.
You talk about freelancing, blogging, affiliate marketing, ecommerce, online businesses and passive income.
5. Financial Independence Blog
Your audience focuses on long-term wealth and lifestyle freedom.
You teach about early retirement, wealth building systems, investing habits and long-term financial planning.
Step 2: Setting Up Your Blog on WordPress.com
Once you are clear on the topic you want to blog about, you need to build the website itself.
WordPress remains one of the most popular blogging and website building software powering millions of sites and for a very long time there has been a misconception about WordPress.org being better than WordPress.com.
The real difference is in hosting.
With WordPress.org, you must choose a host, but with WordPress.com hosting is managed. They handle all the technical areas such as software updates and security so you can focus primarily on publishing content.
For beginners, I recommend using WordPress.com. You still get access to all of WordPress features such as themes, plugins, custom domains, powerful editor and more.
WordPress.com is also free to try. You can create a website instantly with a free subdomain like yoursite.wordpress.com, allowing you to:
- Test an idea
- Experiment with blogging
- Validate a niche or
- Learn the interface
All without financial commitment. WordPress.org does not offer a free hosted plan. Even though the software is free, hosting is not.
Choose Your Blog and Domain Name
Before jumping to setup your blog, you need to choose a brand name, this will serve as your online identify.
As a finance blogger your name need to reflect exactly what you write about. A good name should be easy to spell, easy to remember, sound professional and relevant to your niche.
Here are some examples:
- Wealth Starter Guide (wealthstarterguide.com)
- Everyday Money Plan (everydaymoneyplan.com)
- Finance Growth Hub (financegrowthhub.com)
- Smart Budget Journal (smartbudgetjournal.com)
Make sure to avoid numbers, hyphens, overly complicated words and trendy phrases that may age badly. Choose something long-term.
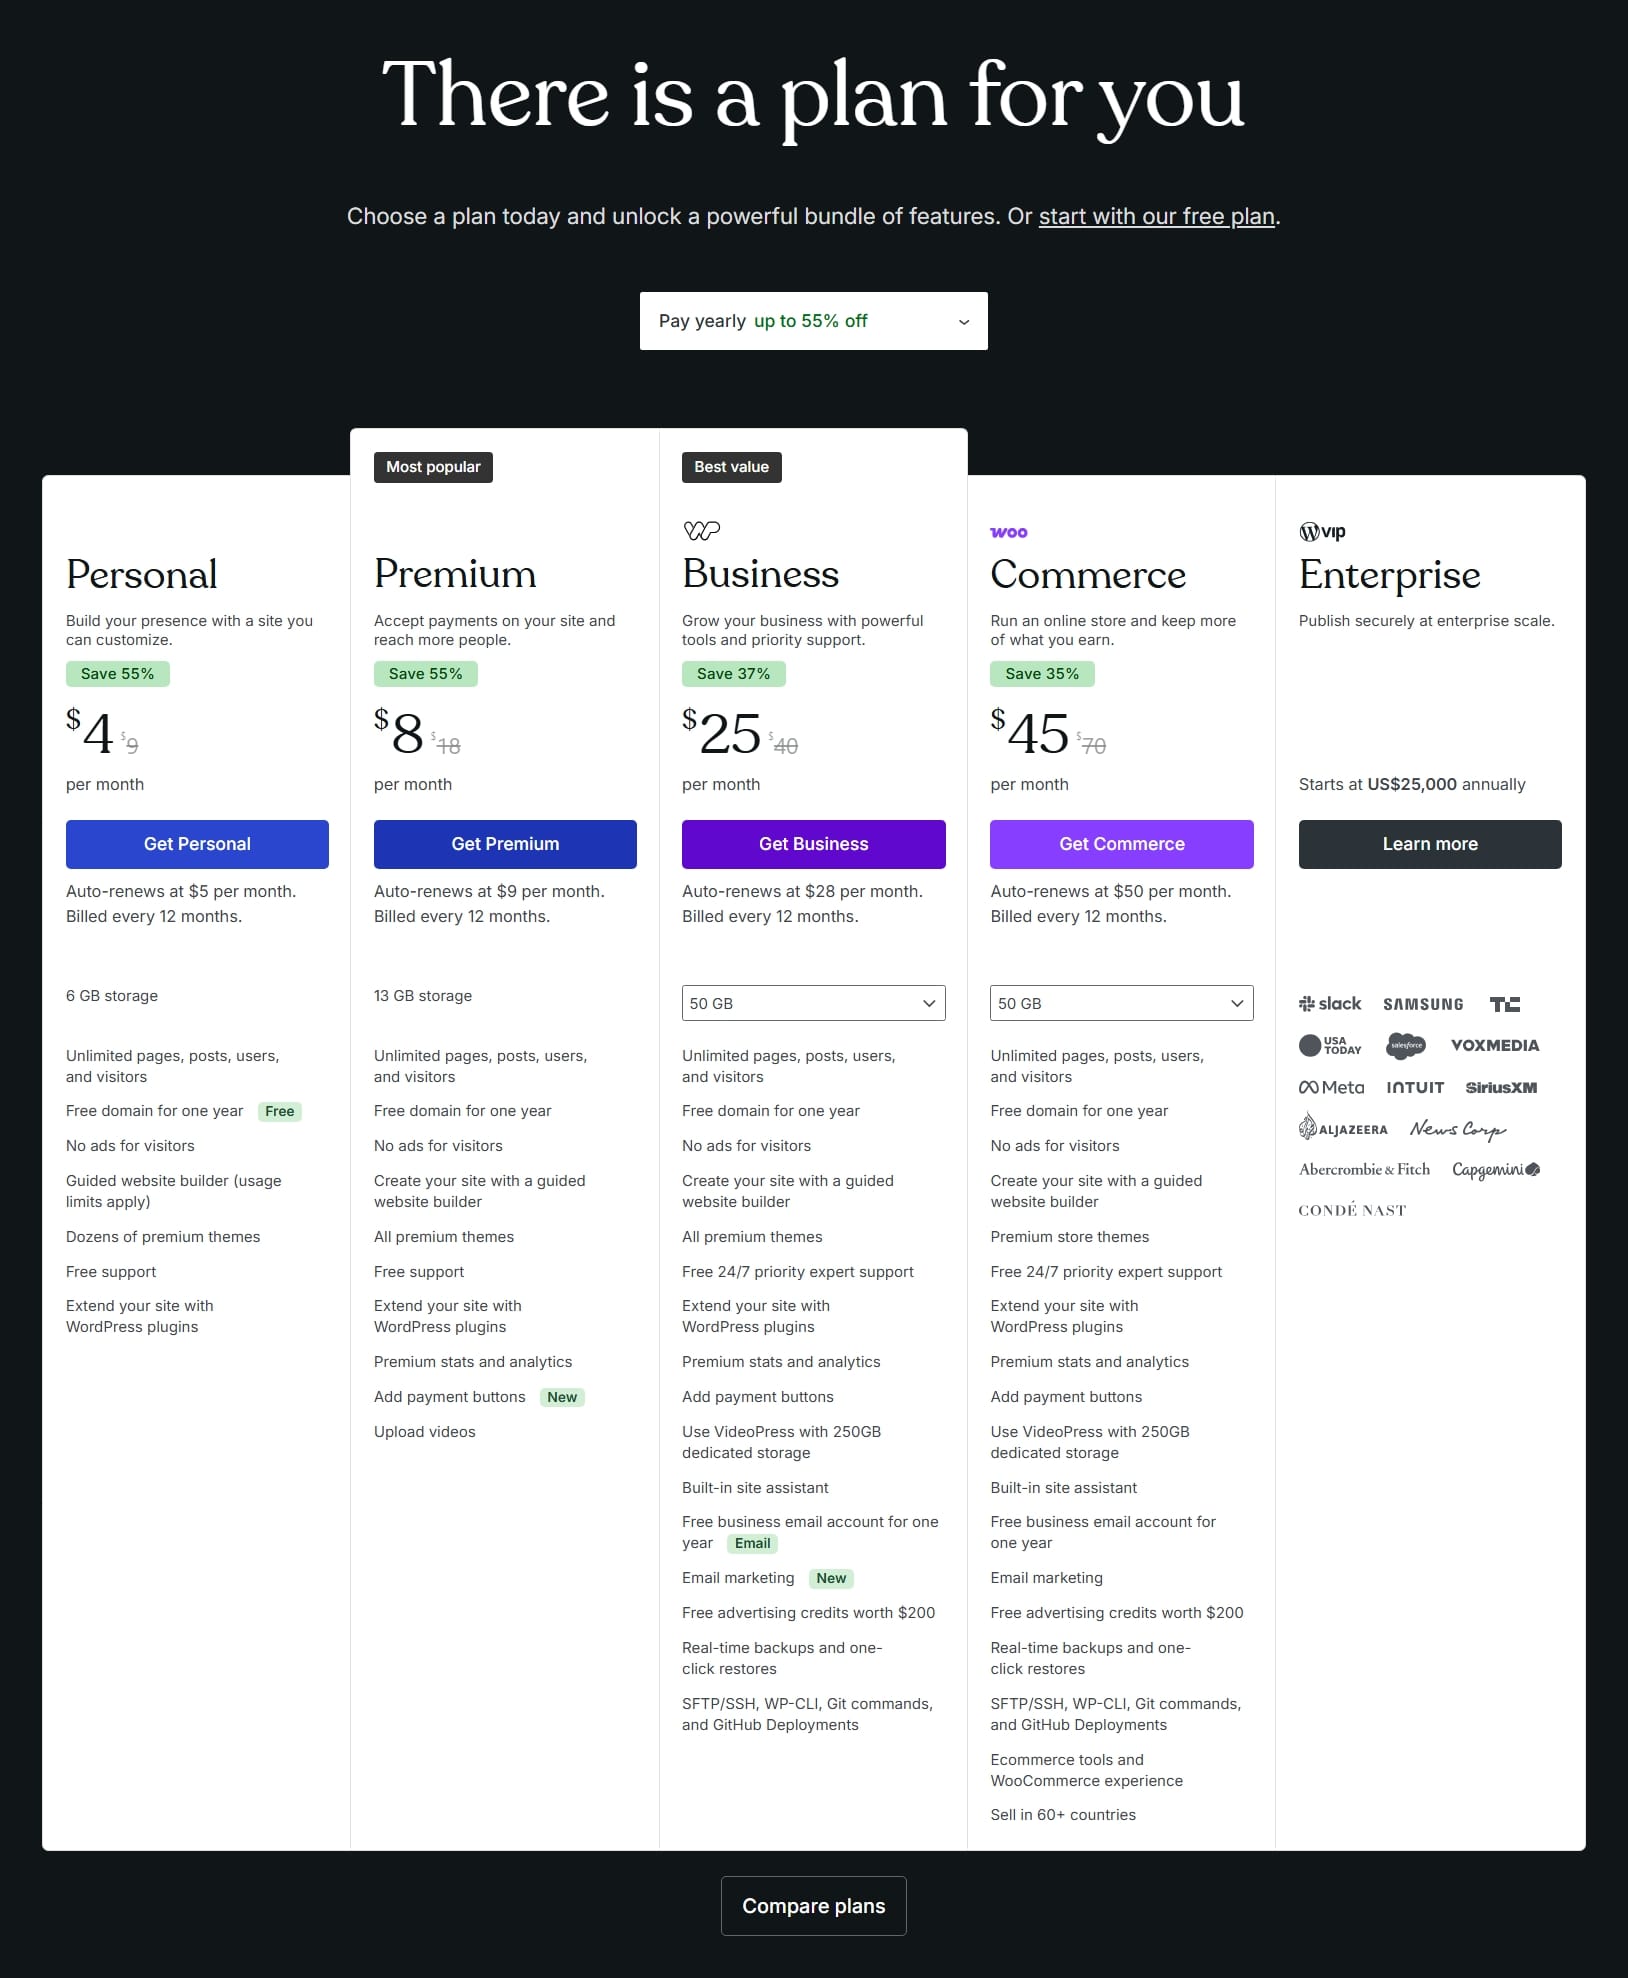
A Good News: When you subscribe to any of WordPress.com yearly paid plan, you get a free custom domain for your first year and up to 55% off the original price.
For example, WordPress.com Personal Plan is priced at $9 when paid monthly but if you pay yearly its priced at $48 ($4 per month), that's you get 55% off plus a free domain for your first year.
Setting Up a WordPress.com Account
Head over to WordPress.com website pricing page and select a plan according to your needs. I picked the Personal Plan as it offered most of what I need for this tutorial. After selection, you'll be redirected to register a new account with your email which I did and then you'll need to select your domain name.
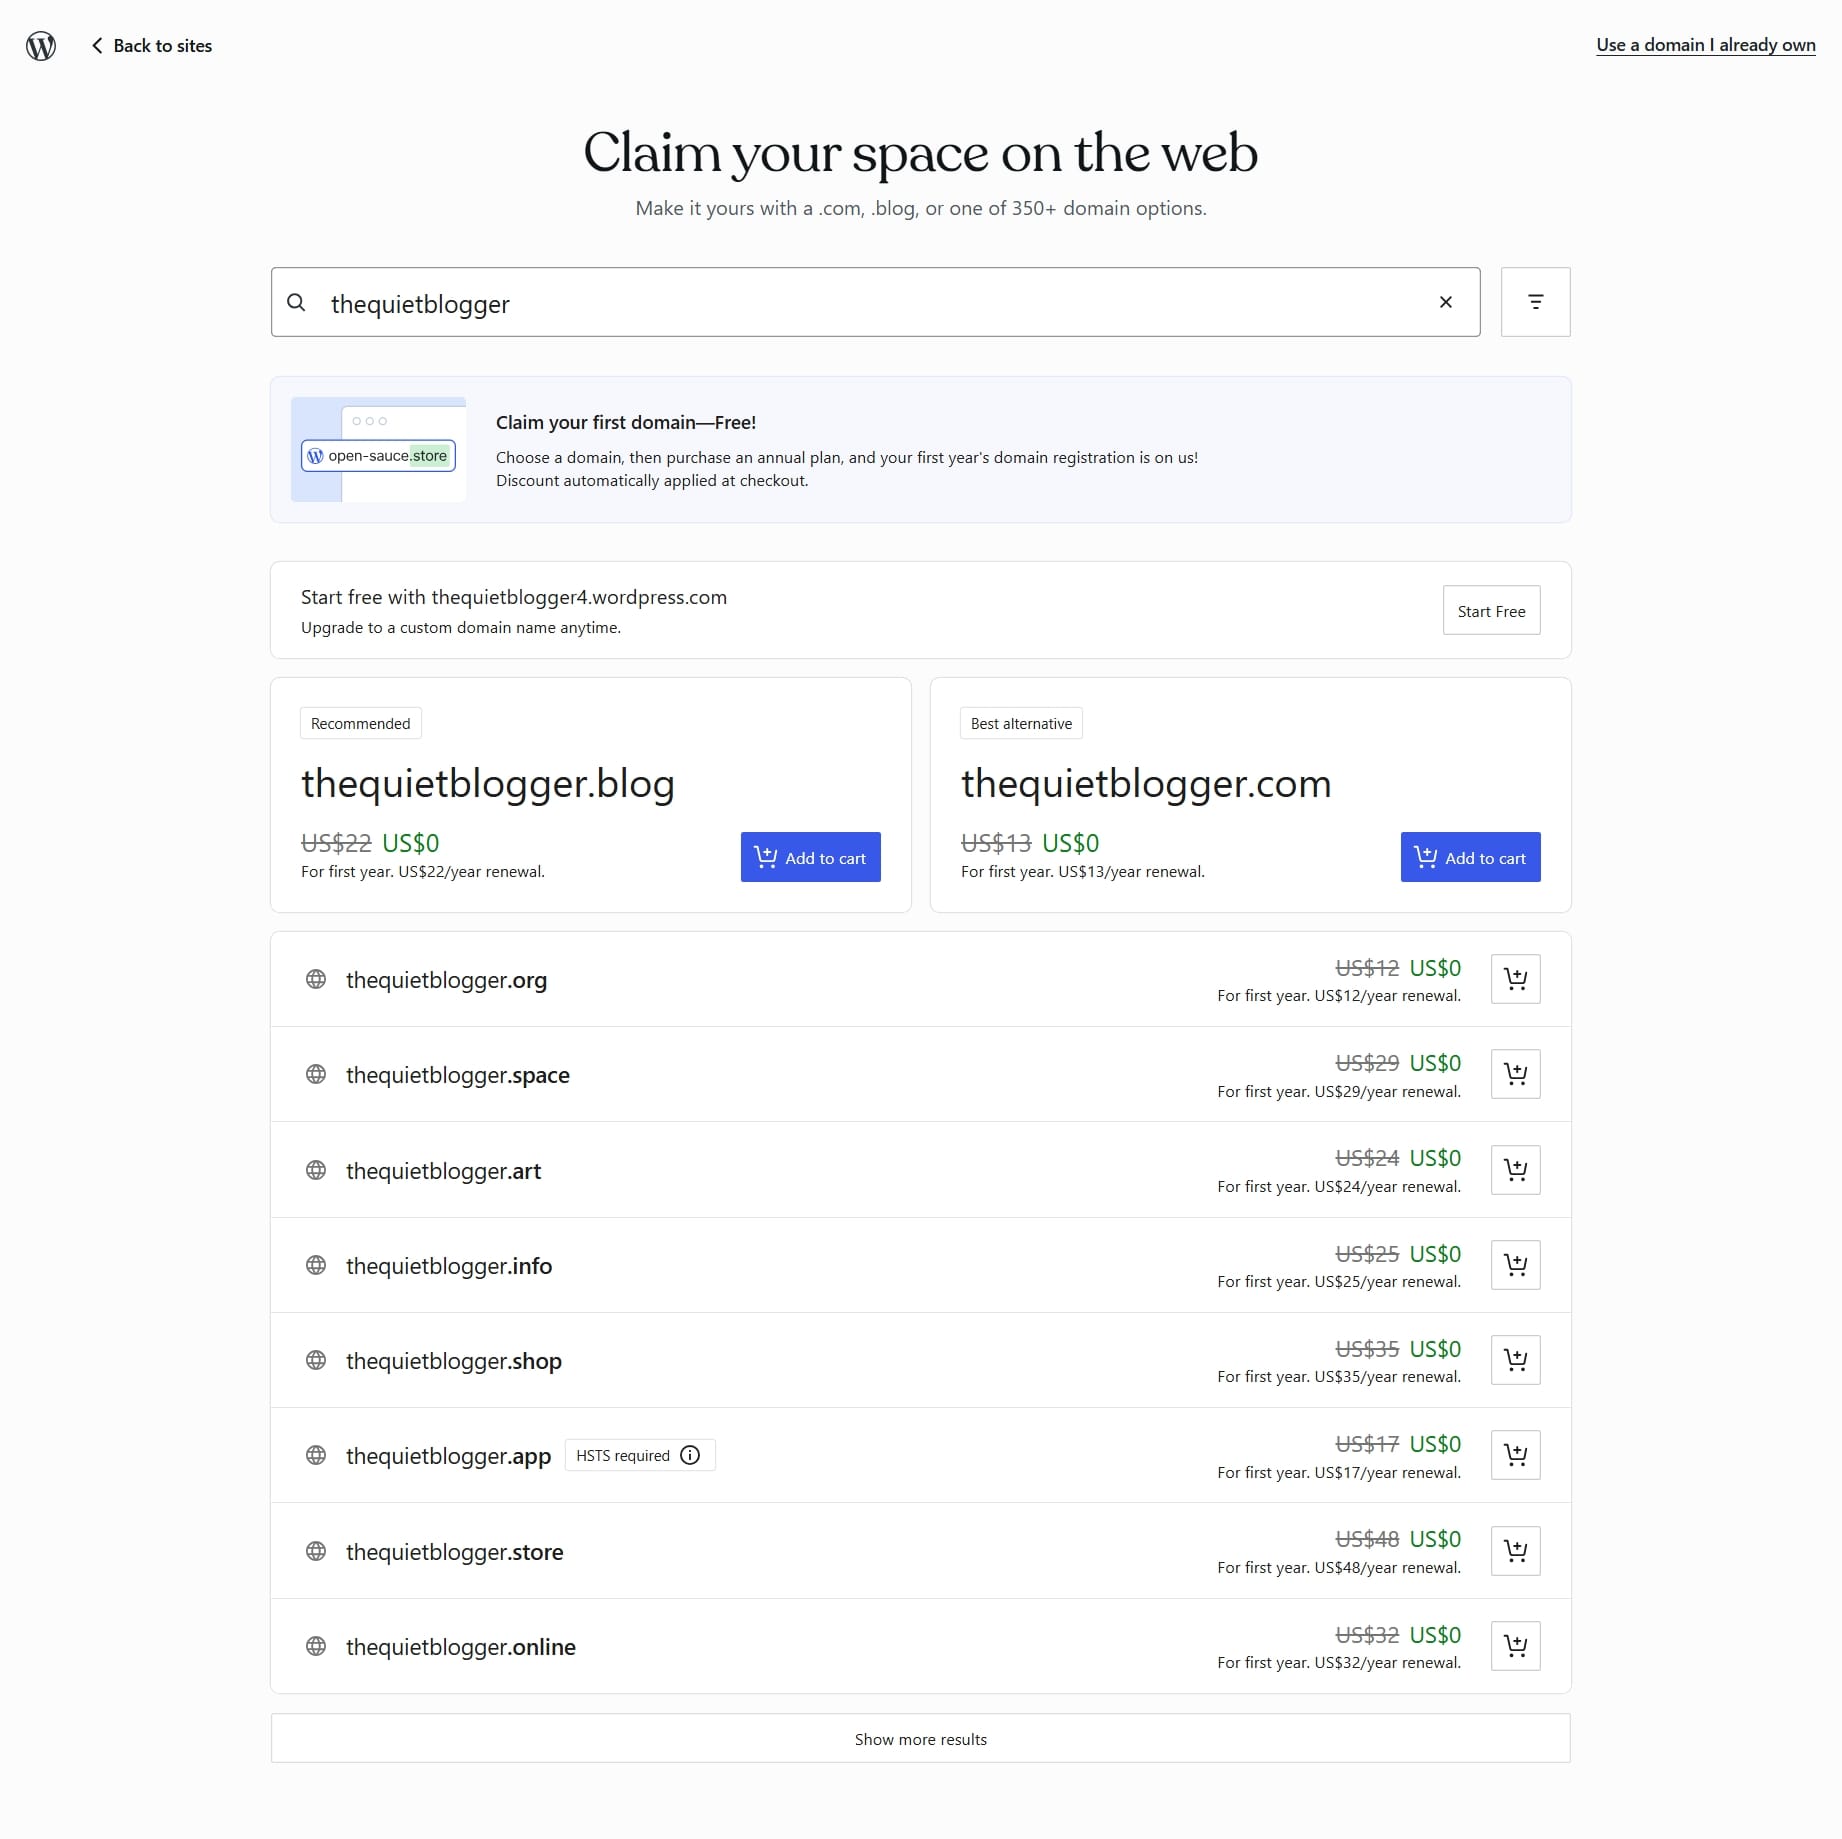
For the purpose of this tutorial, I used The Quiet Blogger.
As you can see in the screenshot above, you can choose from different domain names if you're purchasing it on WordPress.com (remember you get your first year free on annual plans). While if you already have a domain purchased elsewhere you also have the option to use it at the top right-hand corner.
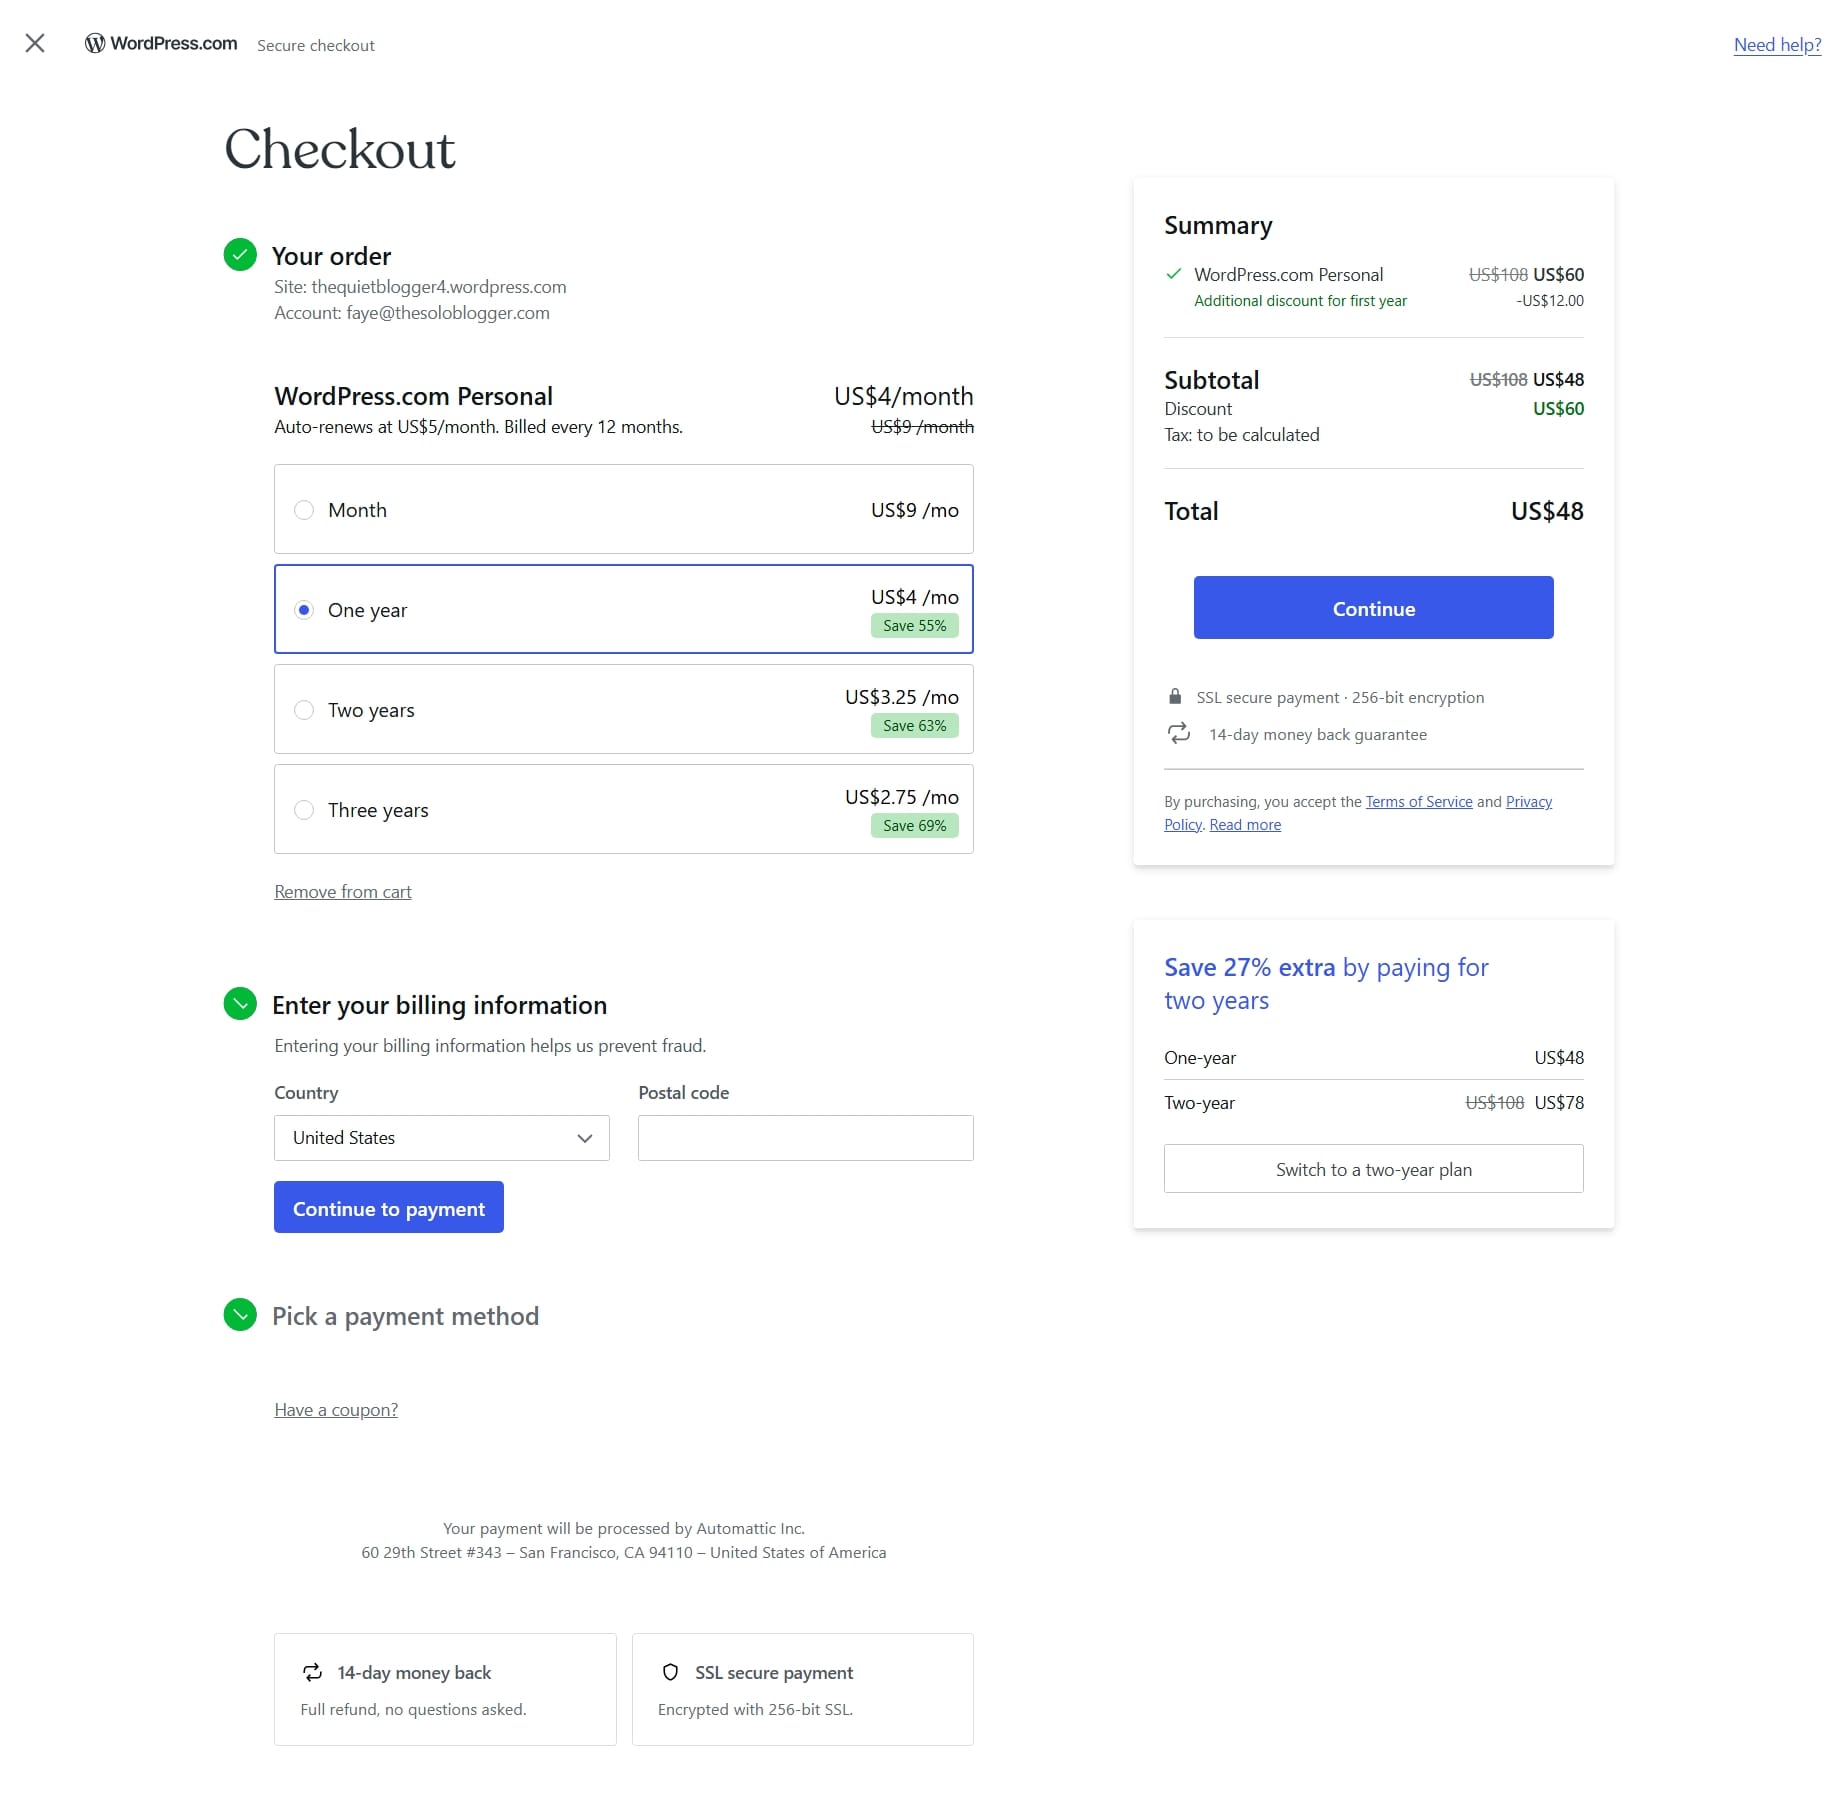
Once you've chosen your domain name you'll be directed to a secure checkout. The longer your billing plan is, the more discount you get.
If you register for a three-year plan, you'll be charged $99, that's $33 per year and $2.75 per month. Making WordPress.com not just one of the best website builders but also one of the most affordable options.
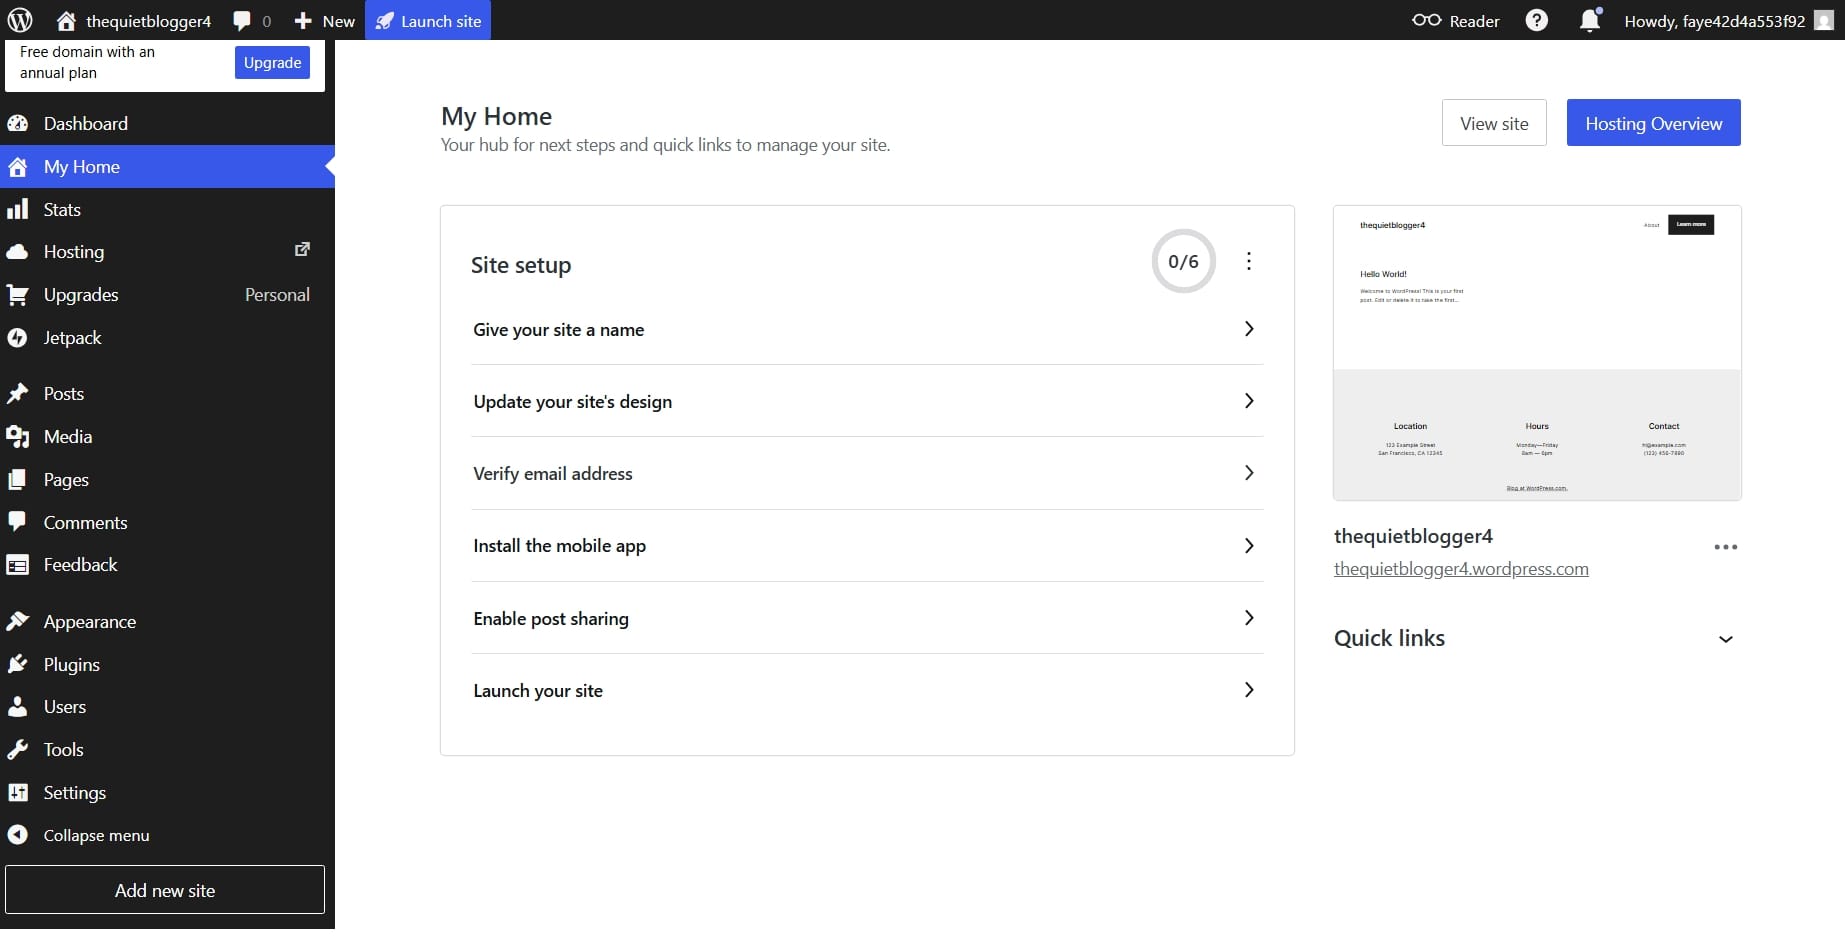
After your signup is completed, and you're now in your WordPress dashboard, you'll see a checklist of recommended things to do on your site.
There's no one way in setting up your site and while you don't have to follow the checklist step-by-step it just helps you know what you need as a beginner.
I proceeded to give my site a name and set my favicon as well as verify my email.
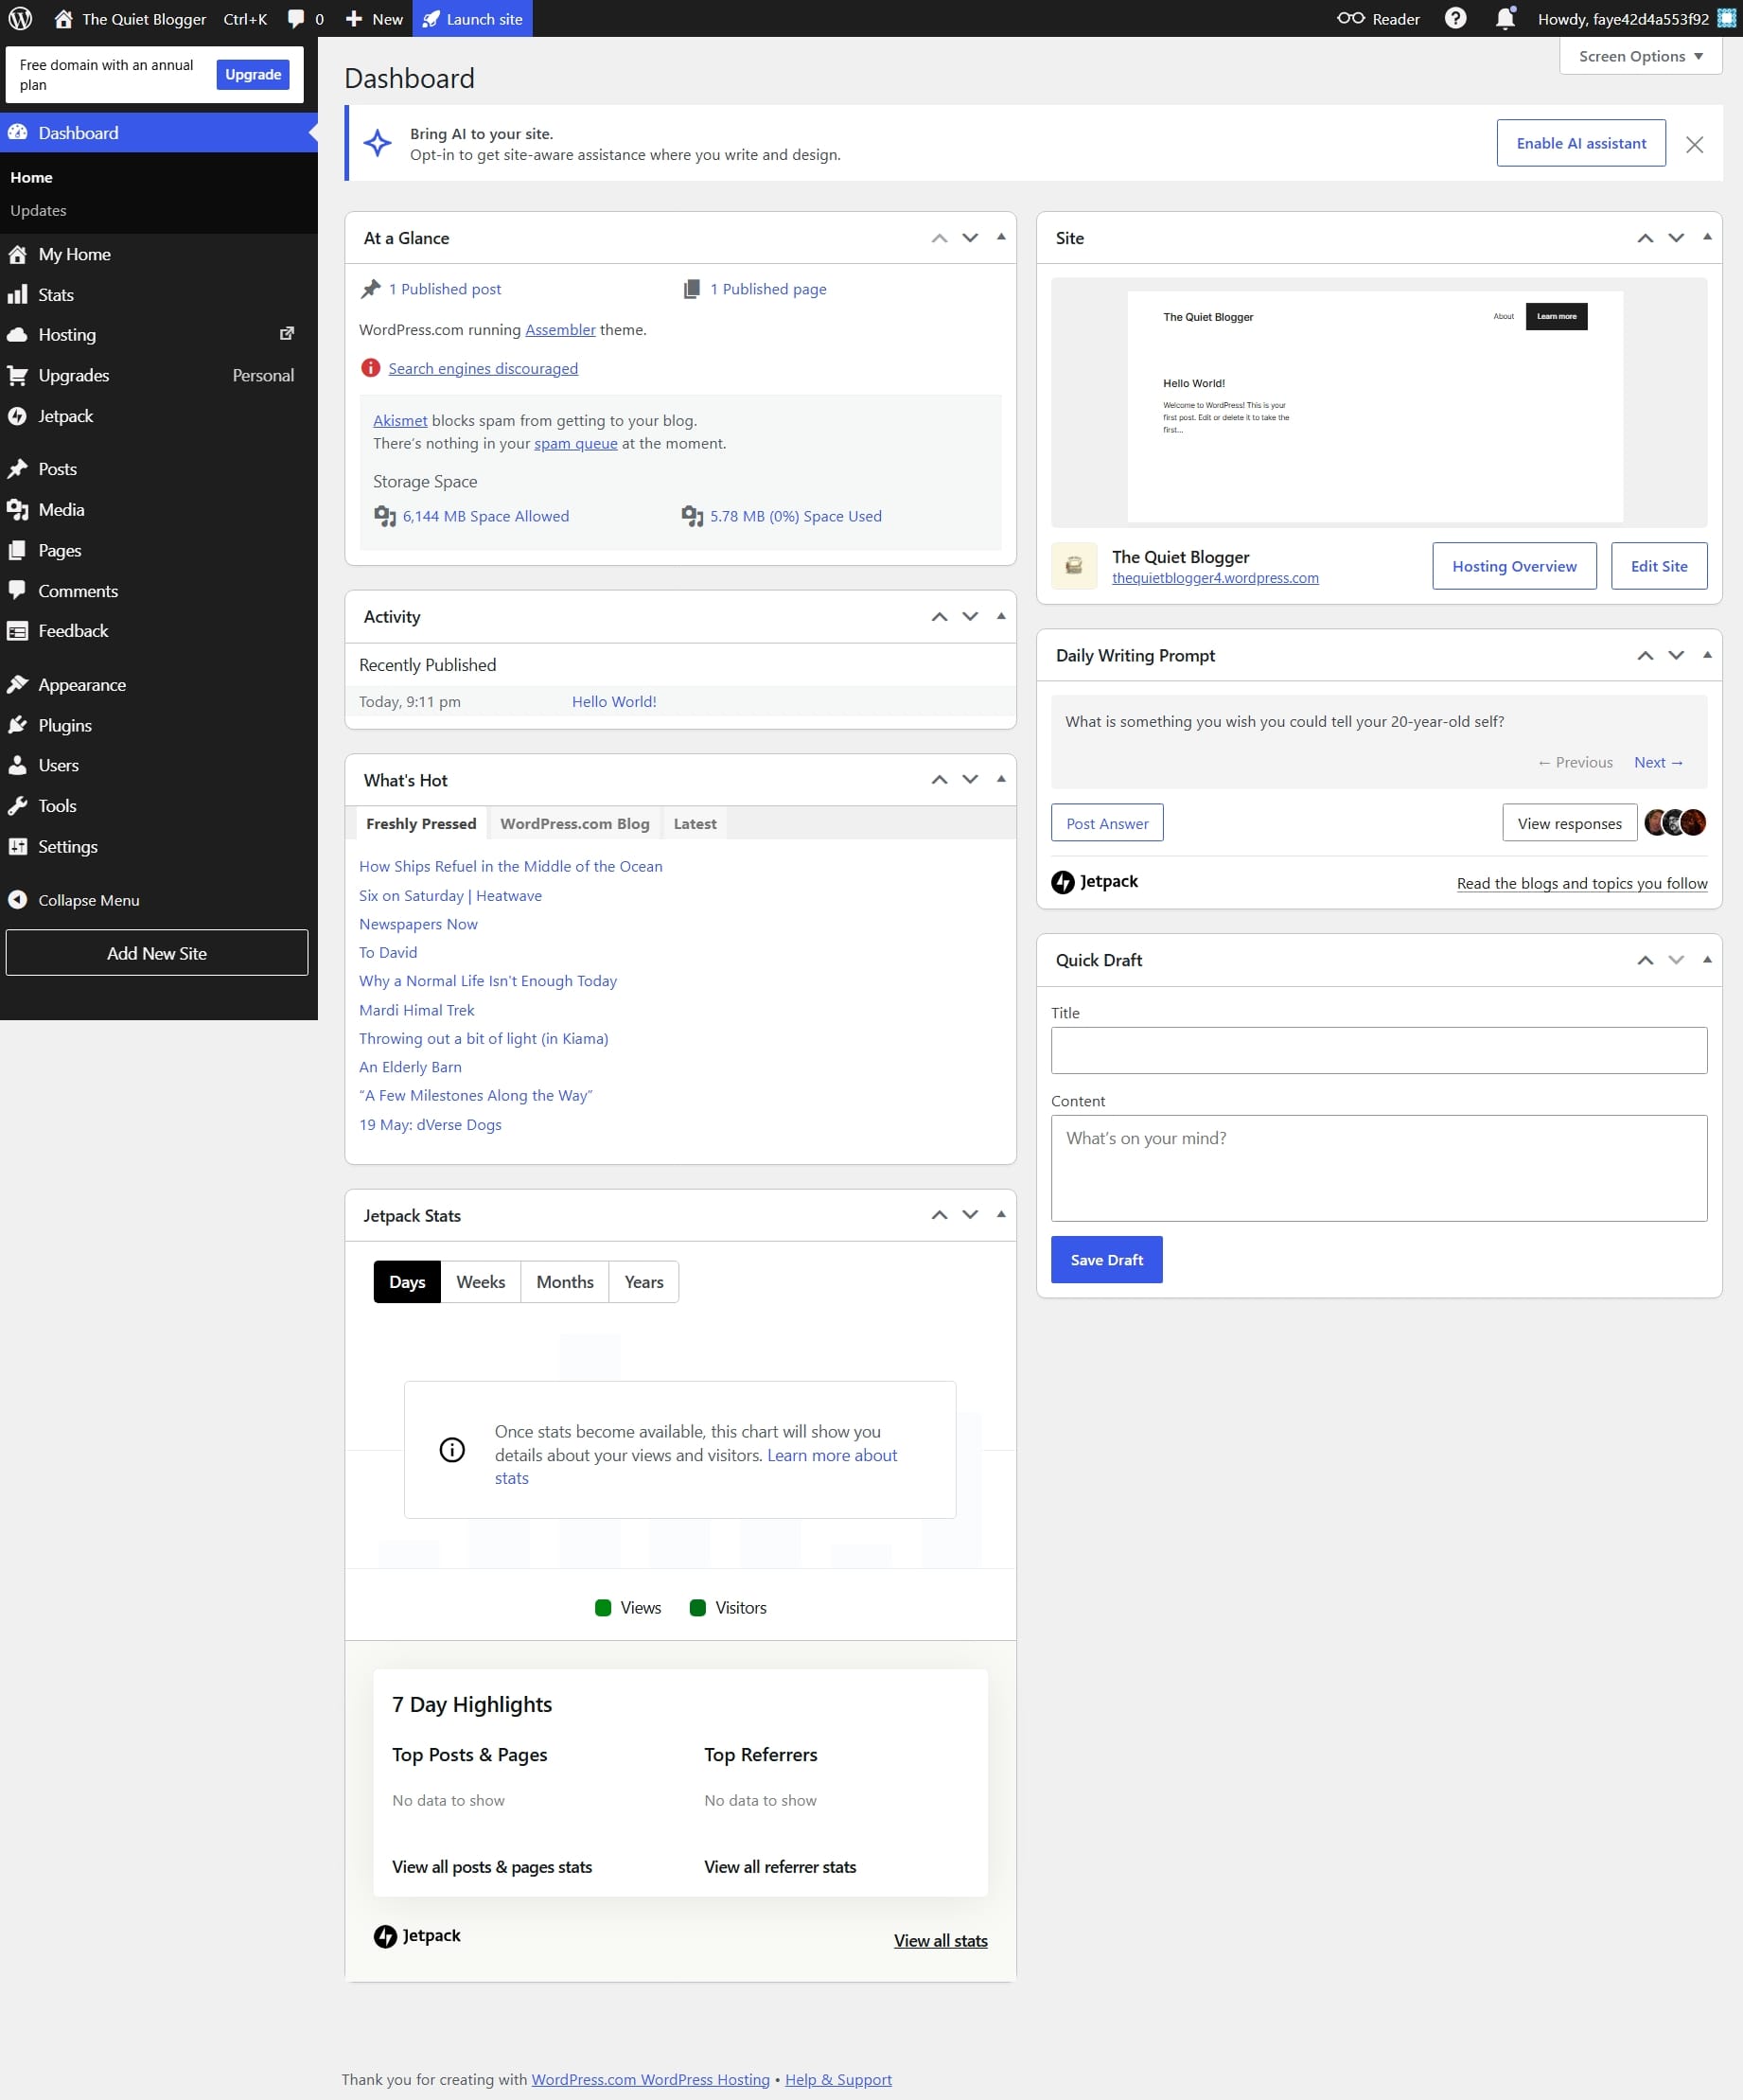
Your dashboard should be looking like this. And at the top of your dashboard, you have the option to enable AI assistant to help with writing and designing.
Picking a Theme for My Blog

Before doing any other thing, I decided to pick a theme for my site. I wanted something simple and since I didn't have a lot of blog posts on my site. Retrospect theme was perfect.
Your ideal theme should prioritize:
- Fast loading speed
- Mobile responsiveness
- Readability
- Minimal distractions
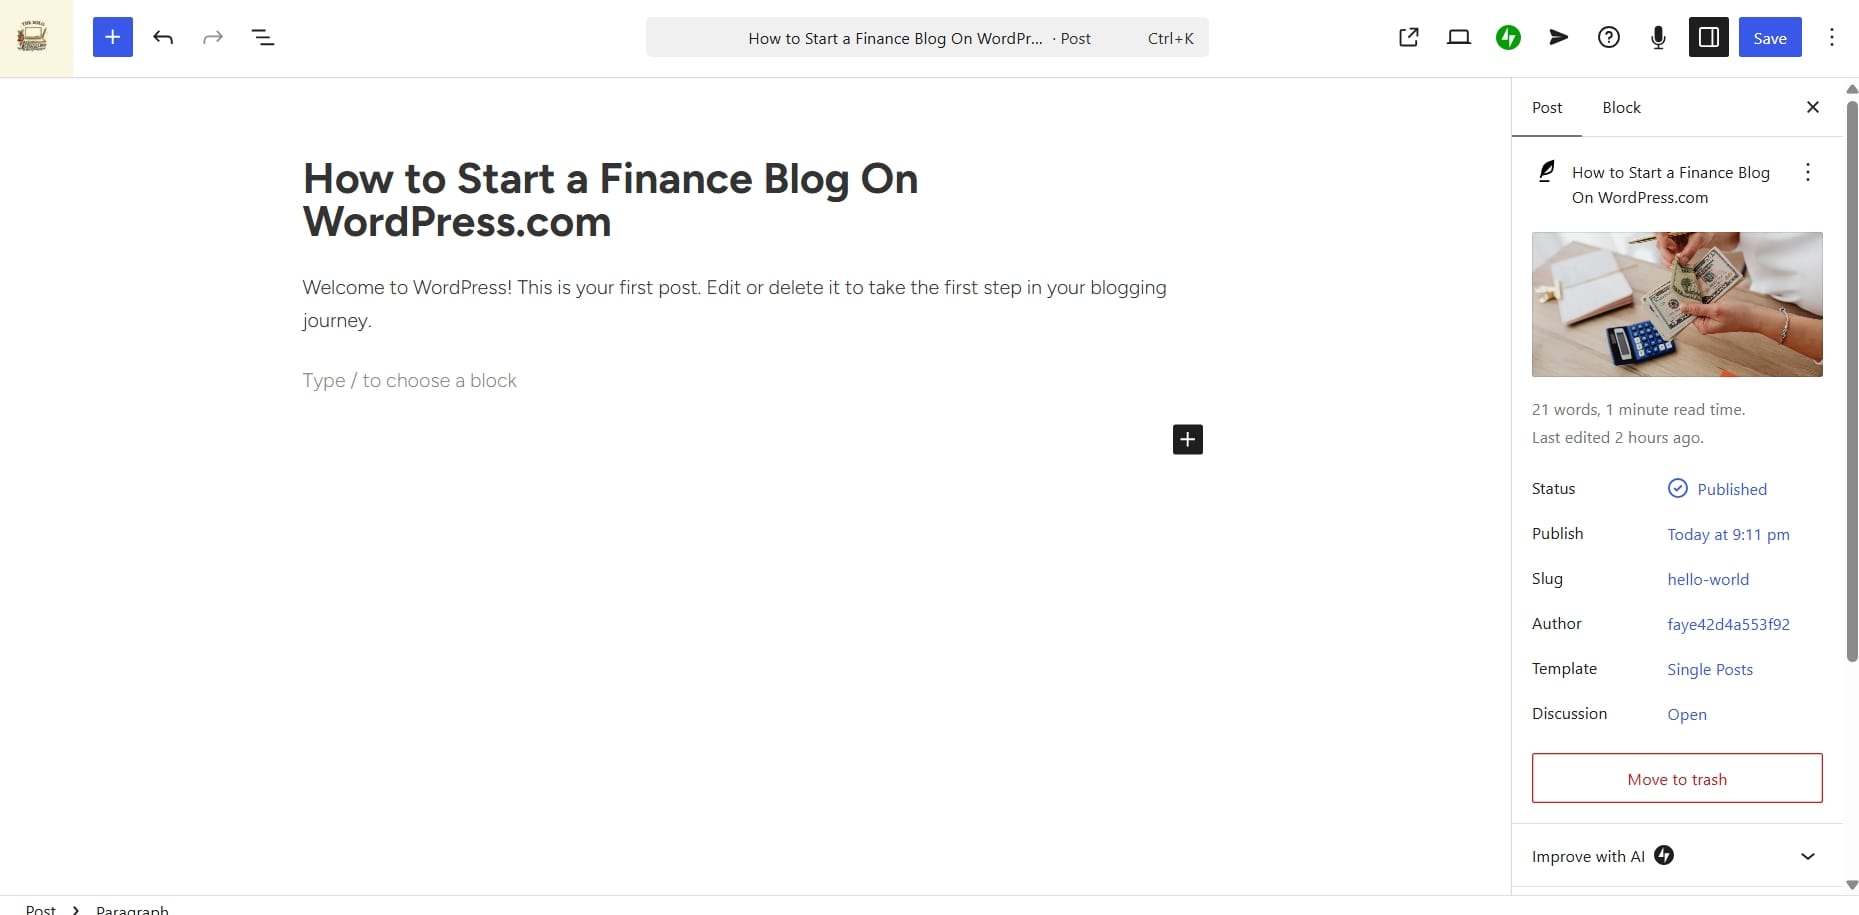
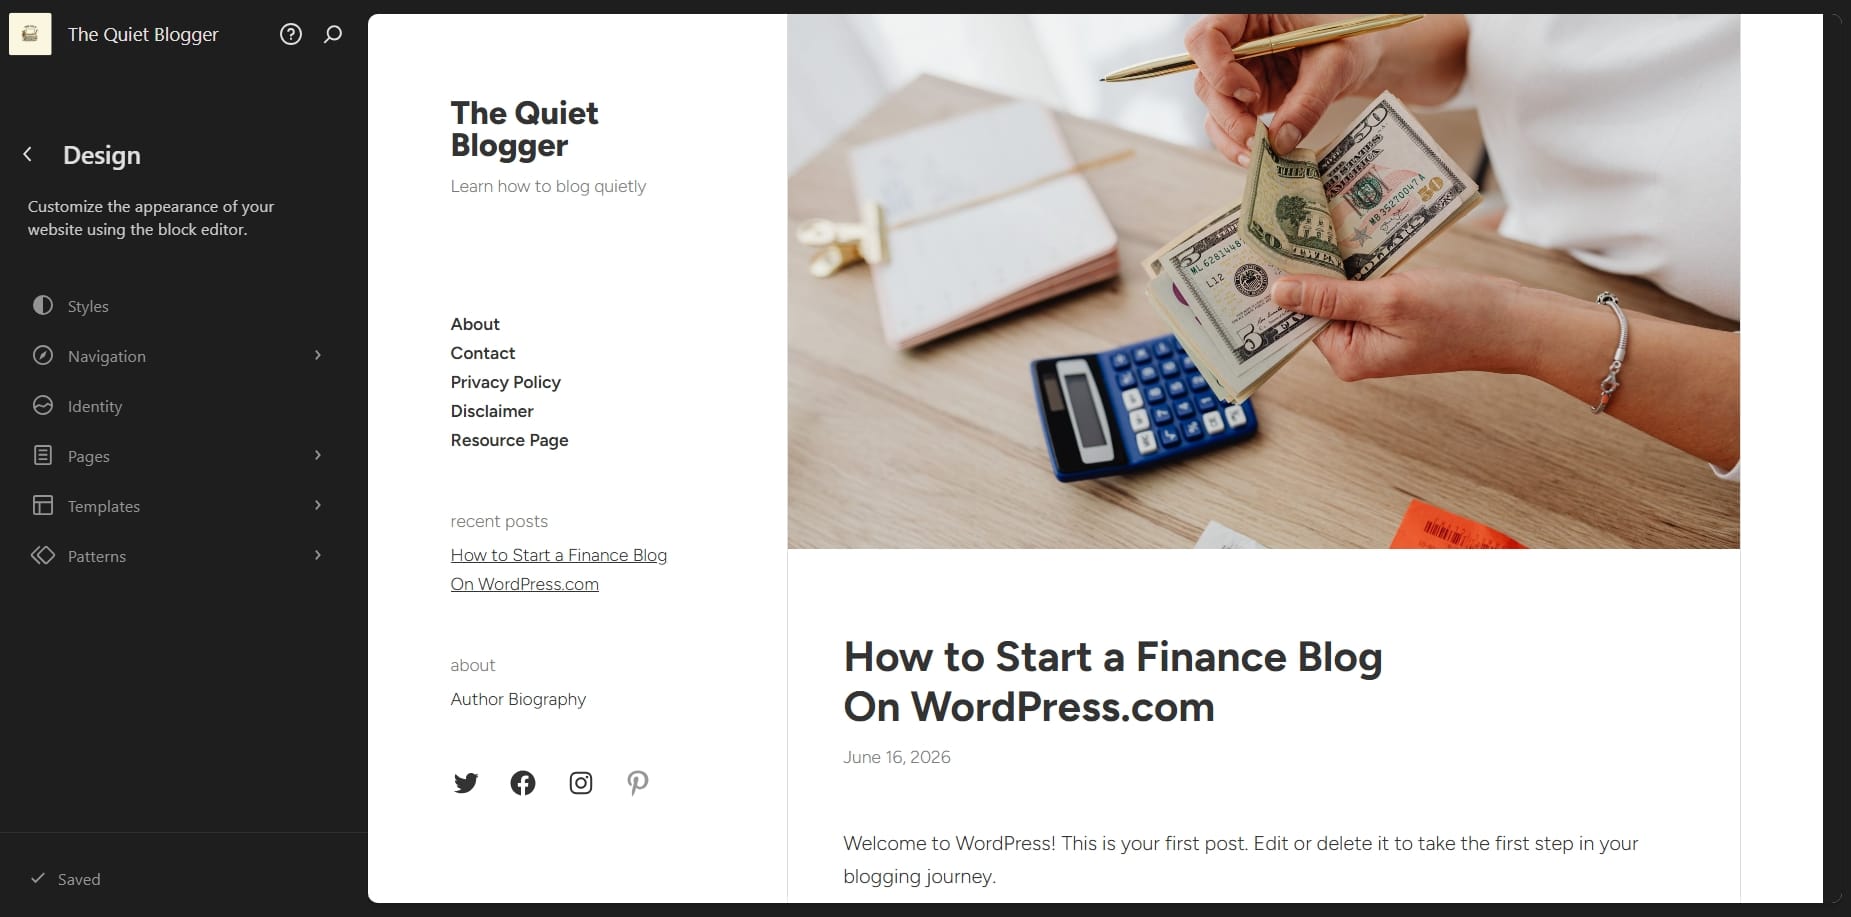
I changed the default post title from "Hello World!" to "How to Start a Finance Blog on WordPress.com" and added an image for the blog post before opening my WordPress.com site editor.
I found the editor quite easy to use and to make any changes to your site all you have to is double click.
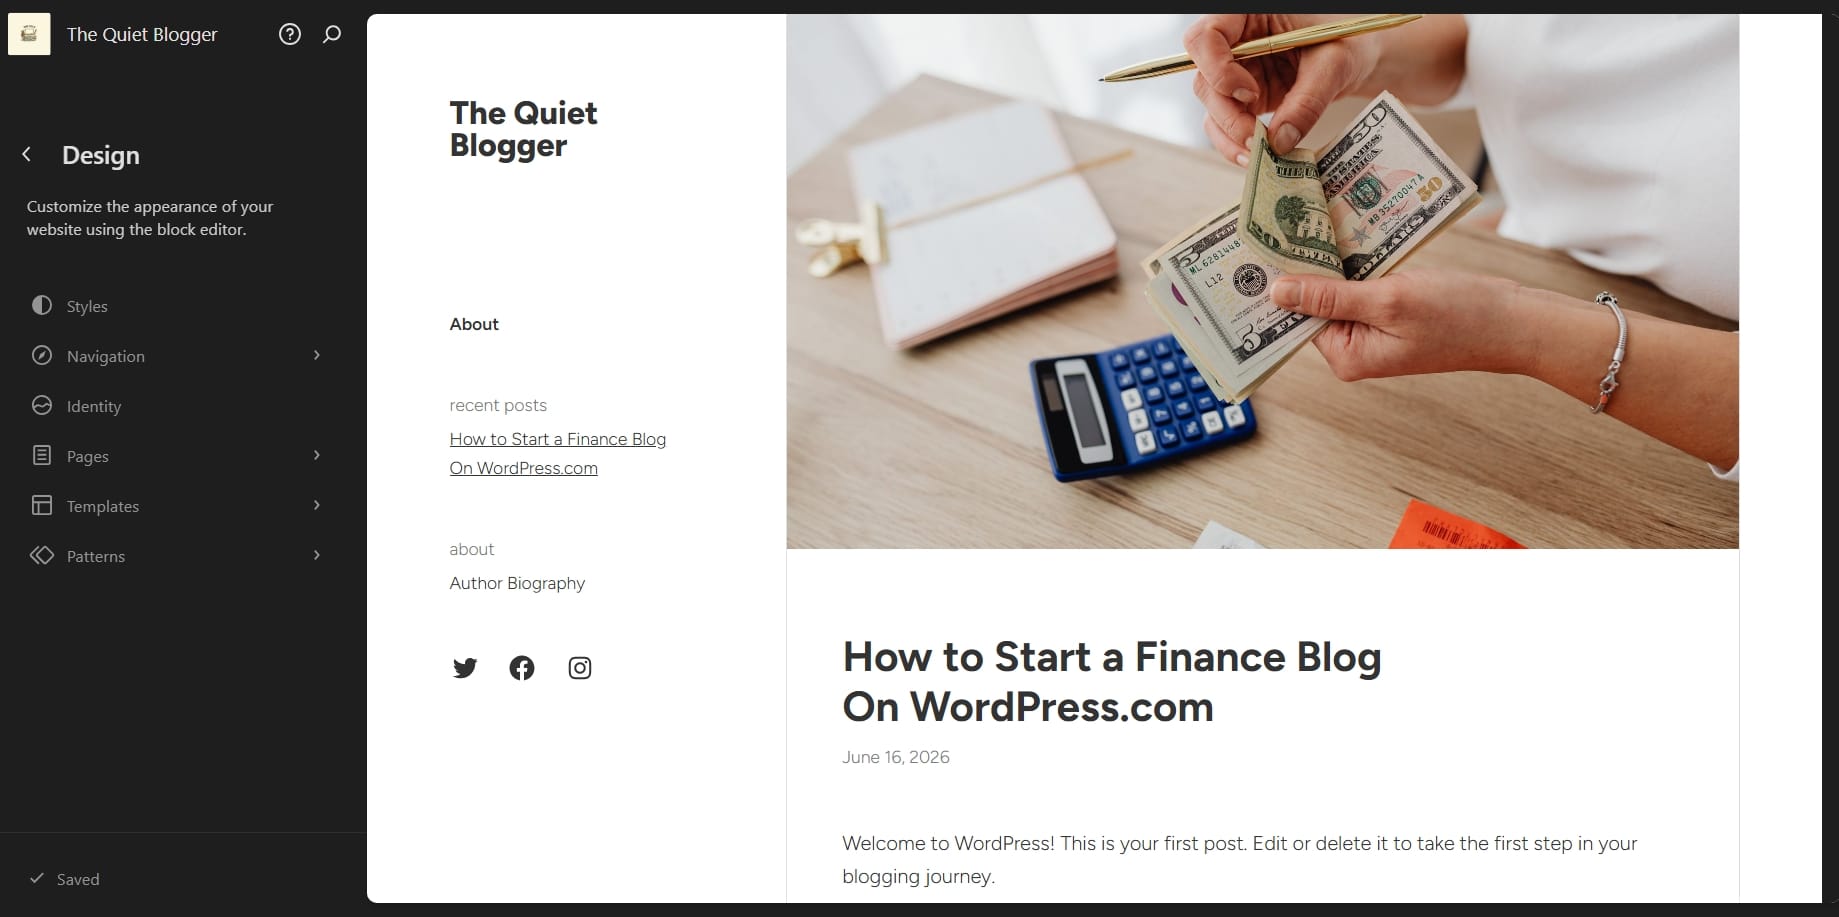
Using WordPress.com site editor.
I also made changes to my footer text, added Pinterest to my social links and a tagline to my site.
Step 3: Build Important Website Pages First
Before publishing content, your site need's structure. To start, create these pages.
About Page
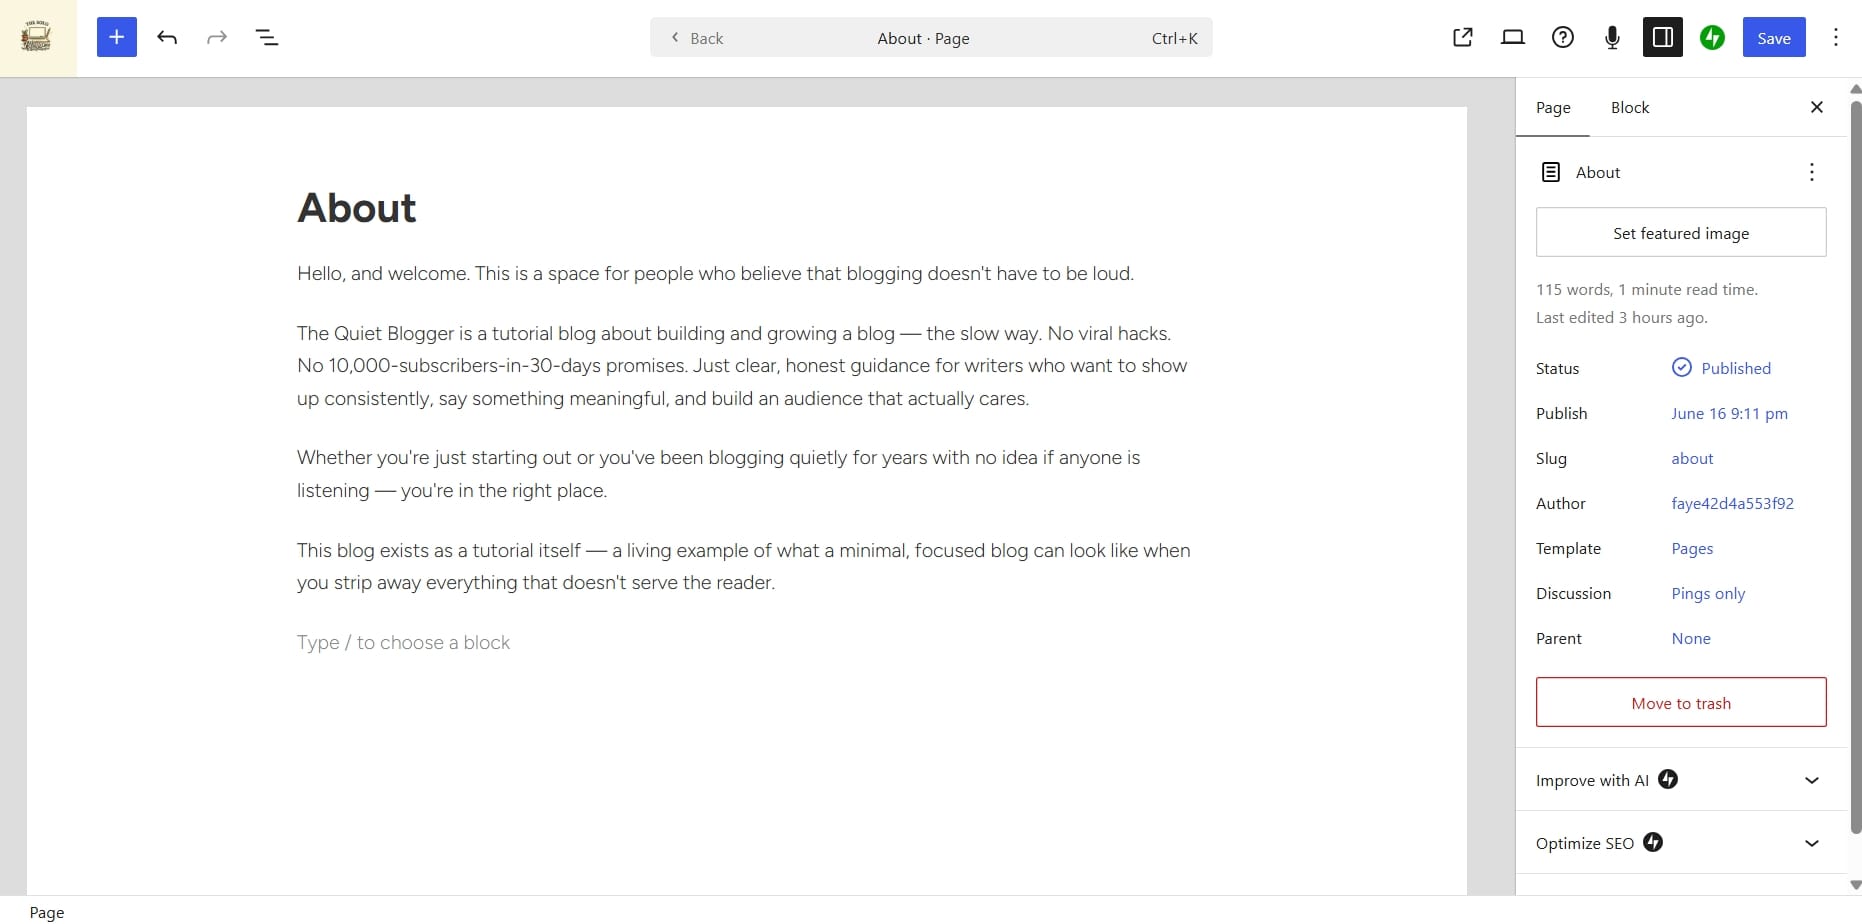
Your About page helps establish trust. Most readers would want to know who is behind the content.
Most importantly, you do not need to pretend to be an expert. Explain why you started the blog, what readers can expect and what topics you cover.
Contact Page
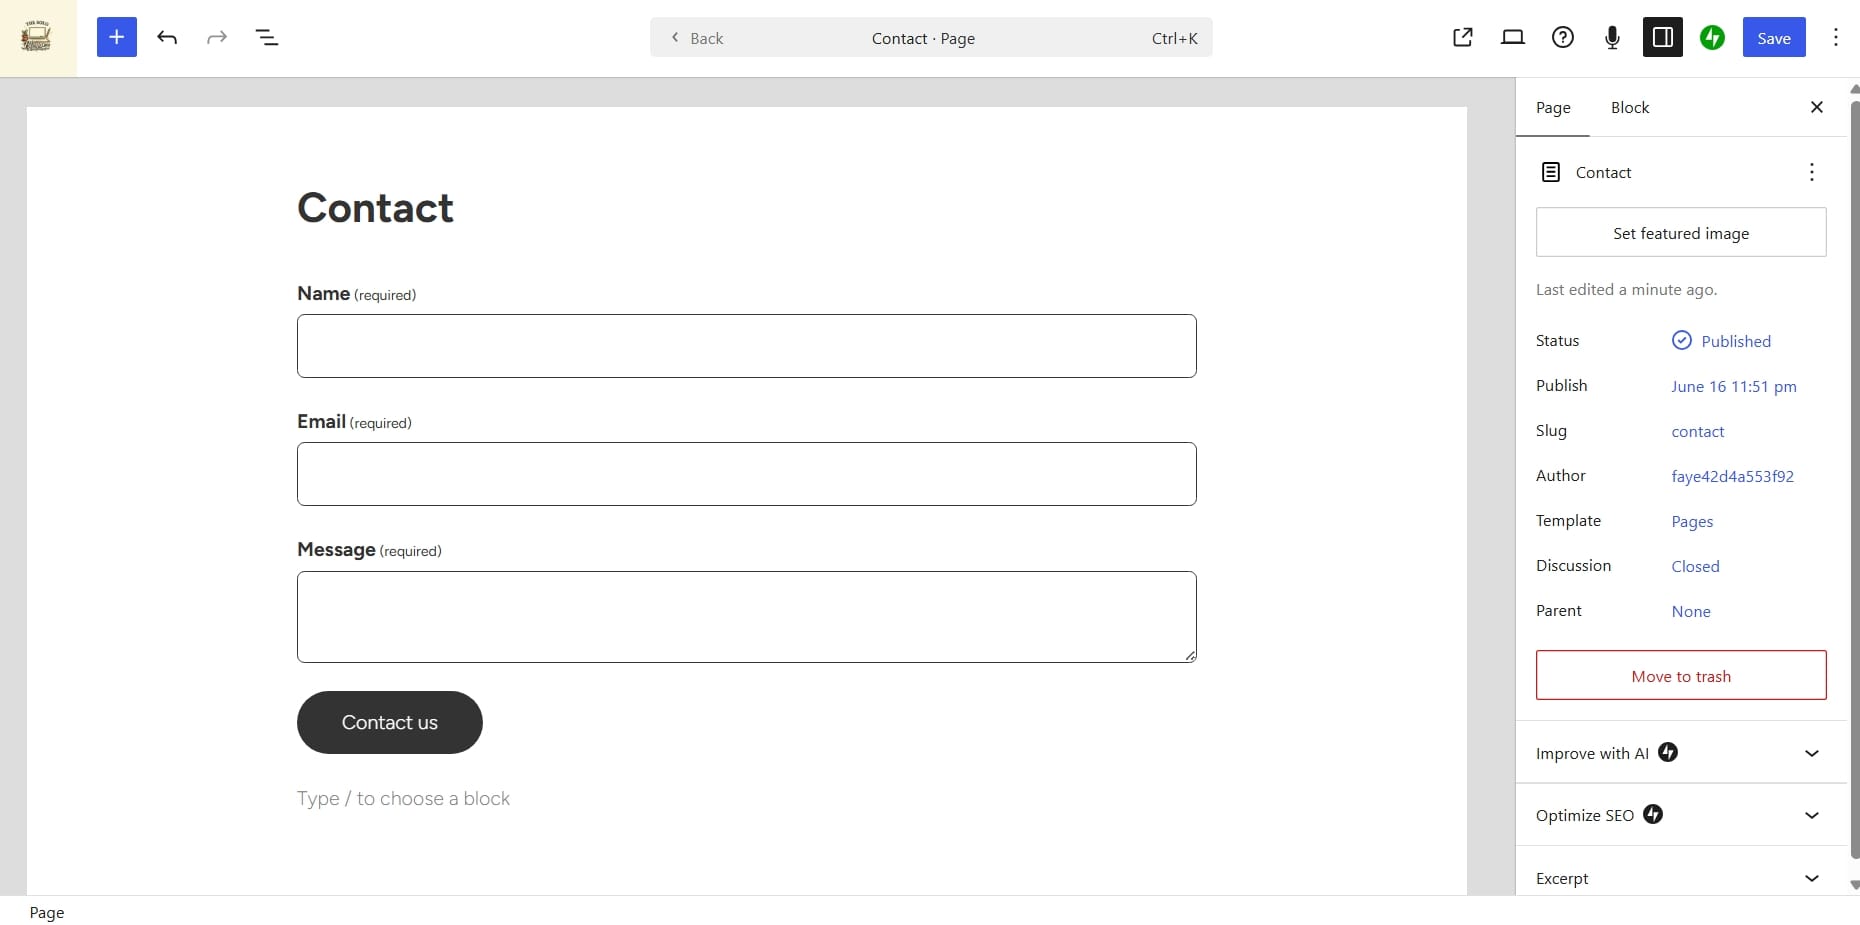
Every blog should have a contact page where readers or brands can reach out regarding general questions, partnership, sponsorship and networking.
I used a contact form on my test site, but you can choose to add your email address directly on the page and write an intro.
Privacy Policy
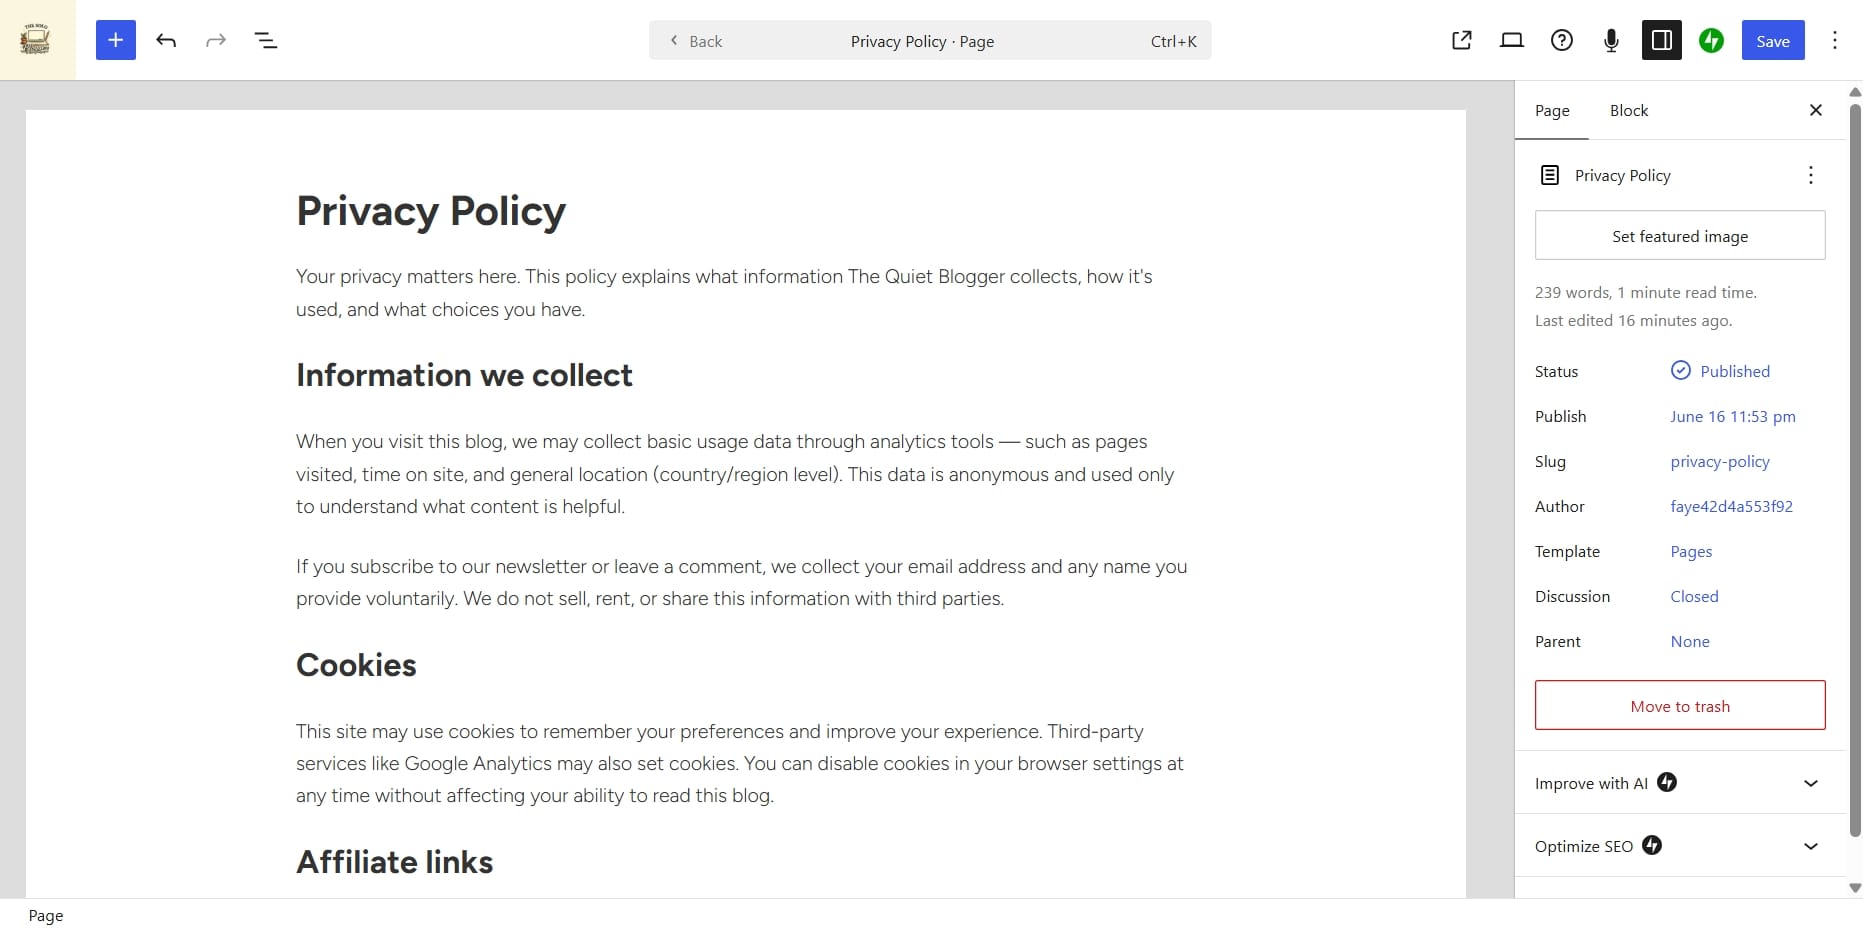
This page explains to your visitors how their information is handled. It's important if you collect emails and use third party tools like Google Analytics and any other tool that takes data from your site.
Disclaimer Page
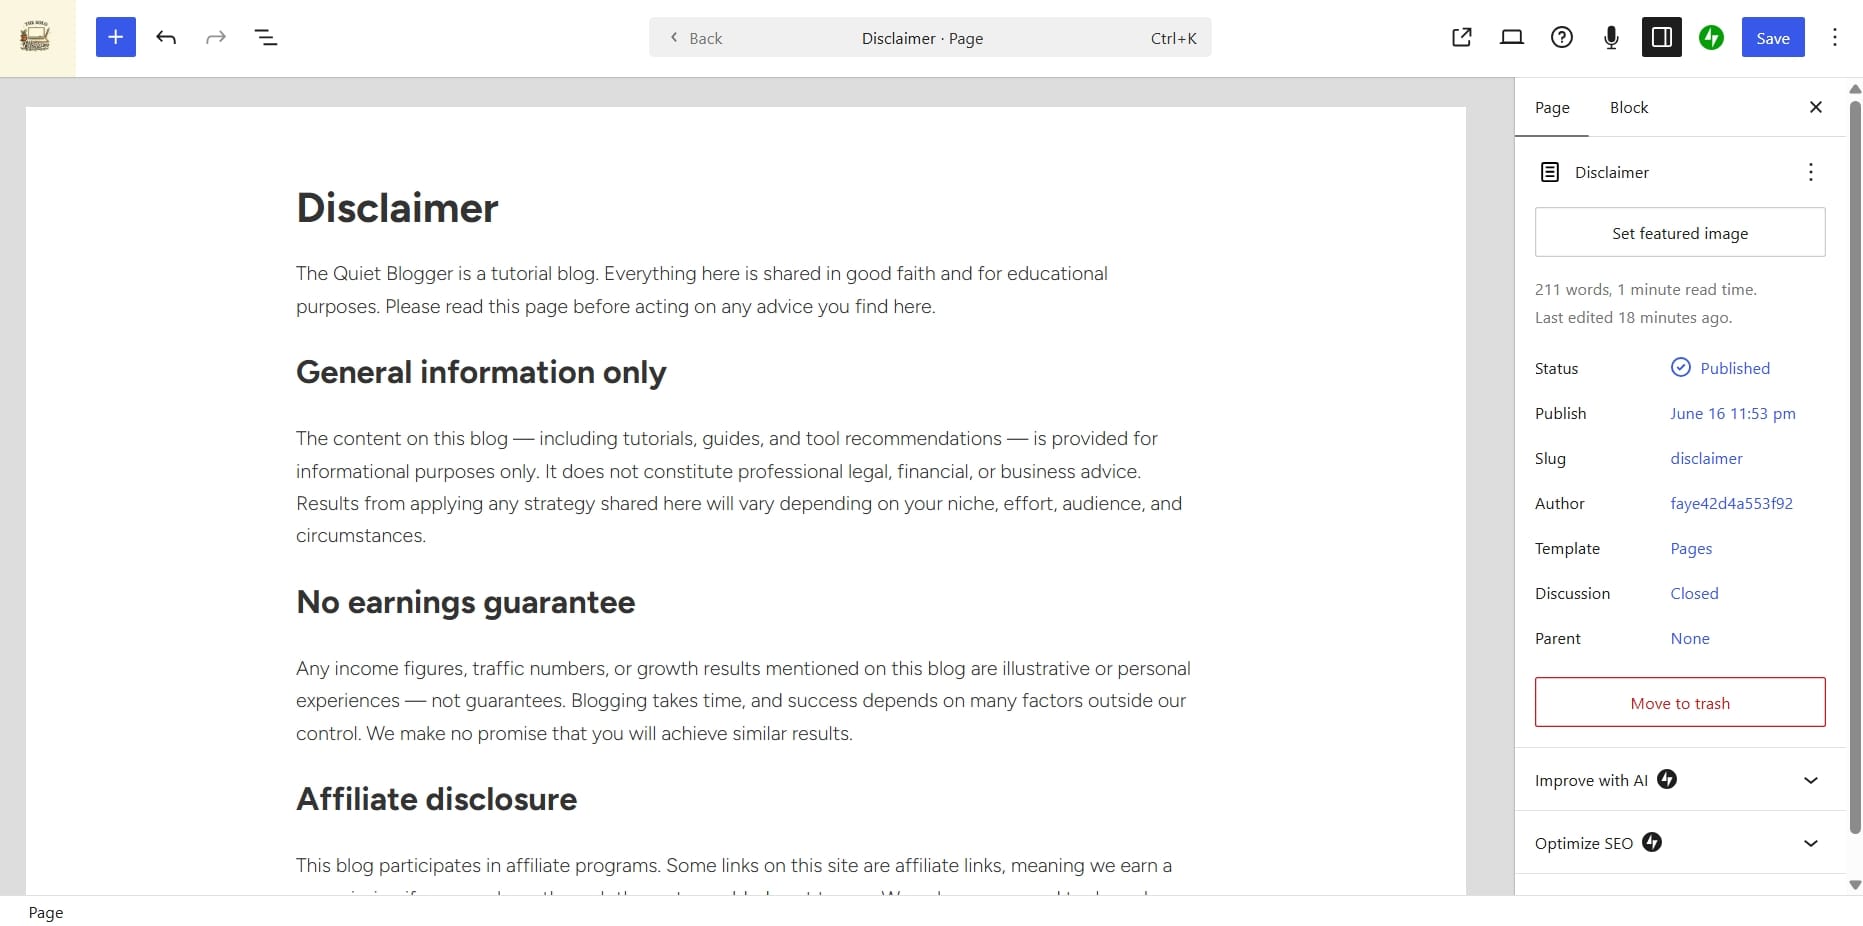
This page is very essential for finance websites. You should clearly state that content is educational and not professional financial advice. Never ignore this.
Resource Page
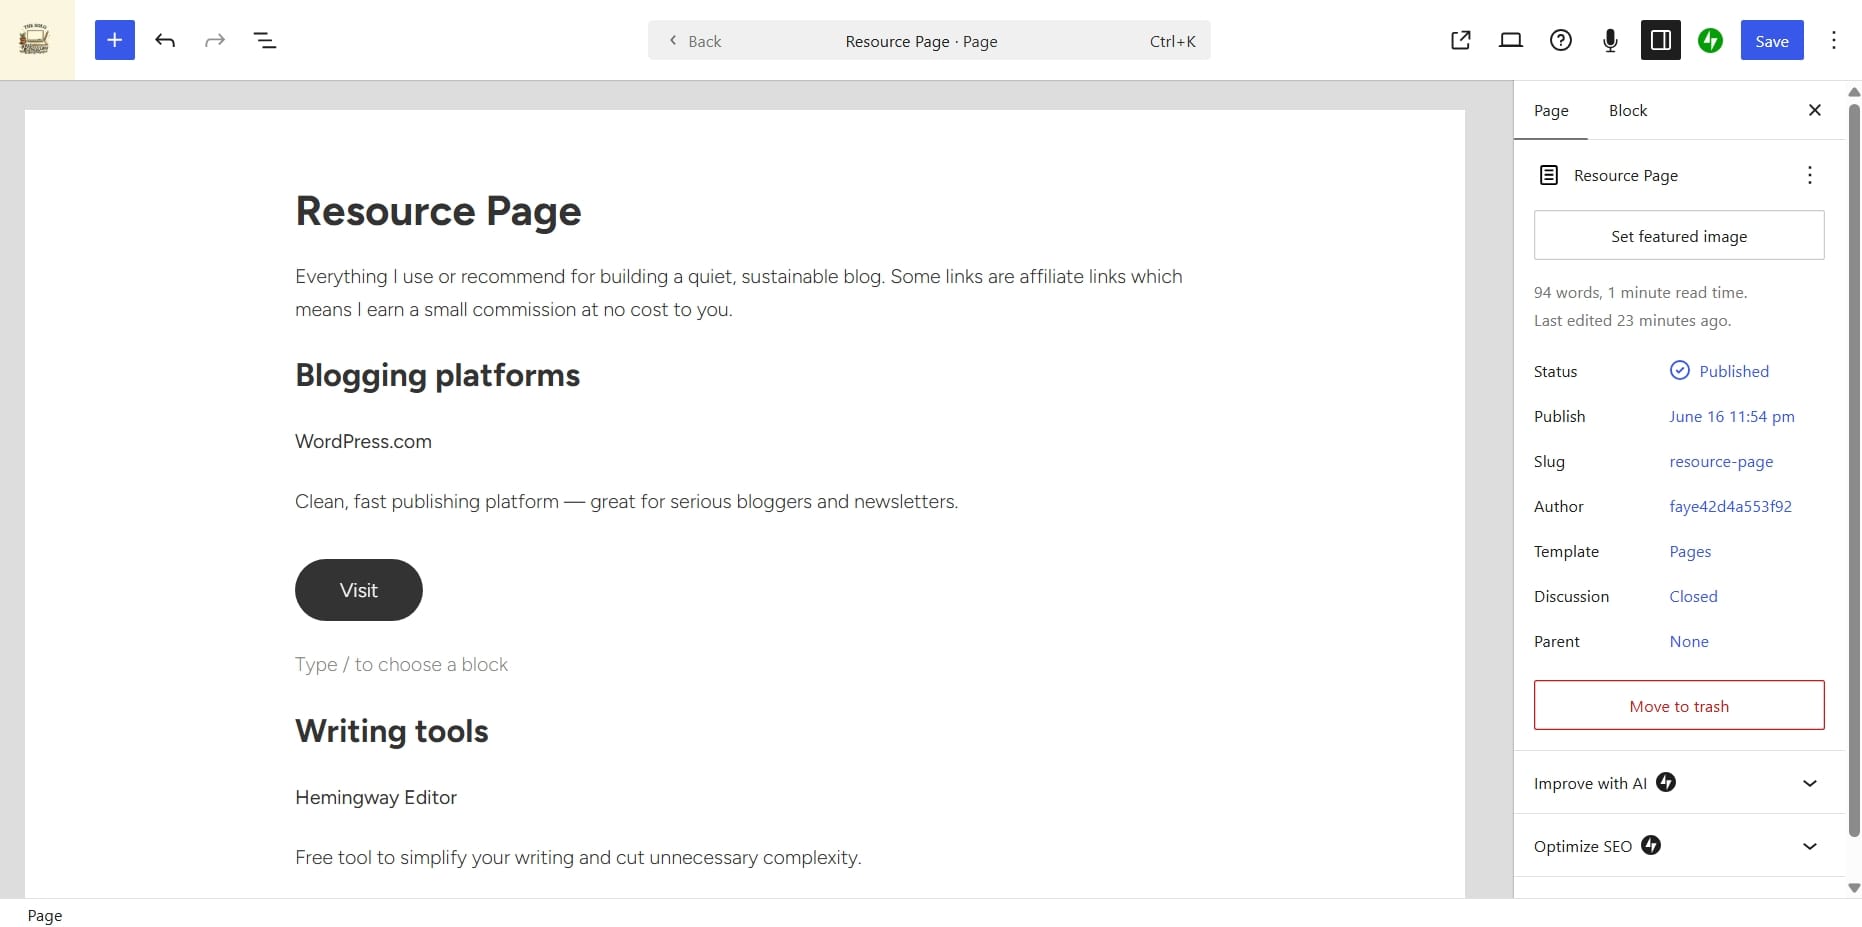
This page becomes valuable later. You'll eventually recommend tools and products. A dedicated resource page makes monetization easier.
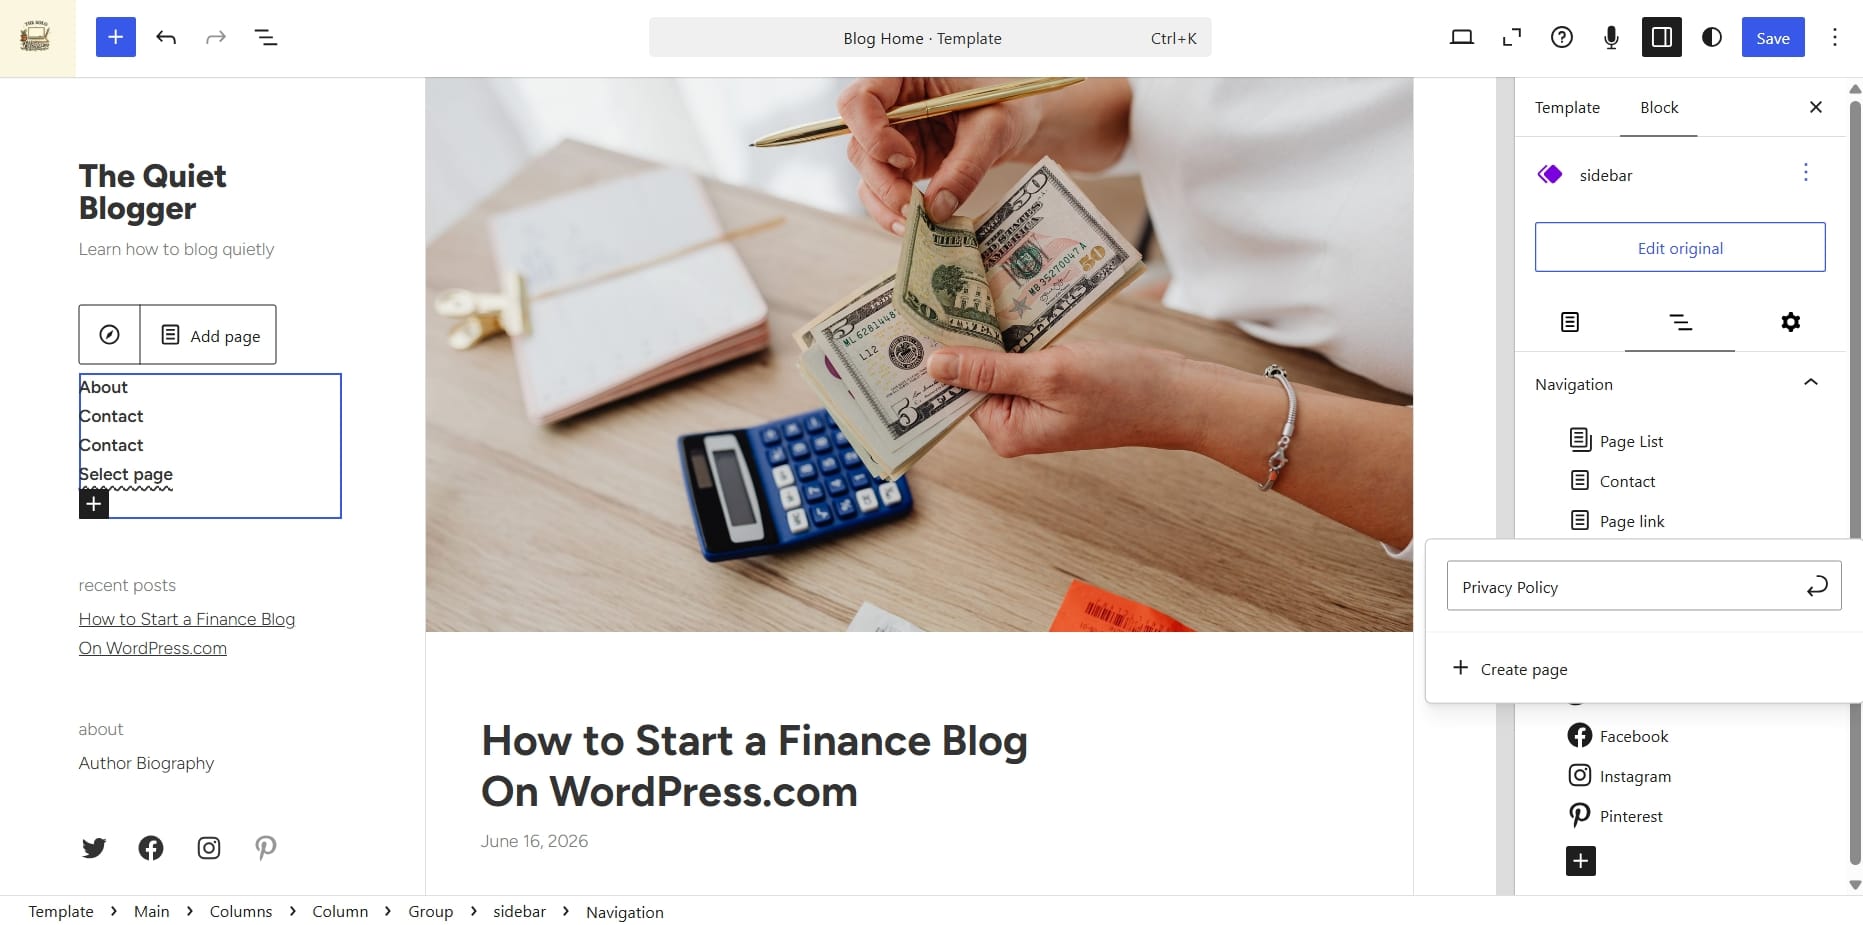
To add a page to your site, you can do that from the Pages section as seen in the image below.
Or you can go to your default "About page" section on your site editor and double click. You should see a "Add page" as seen in the screenshot below.
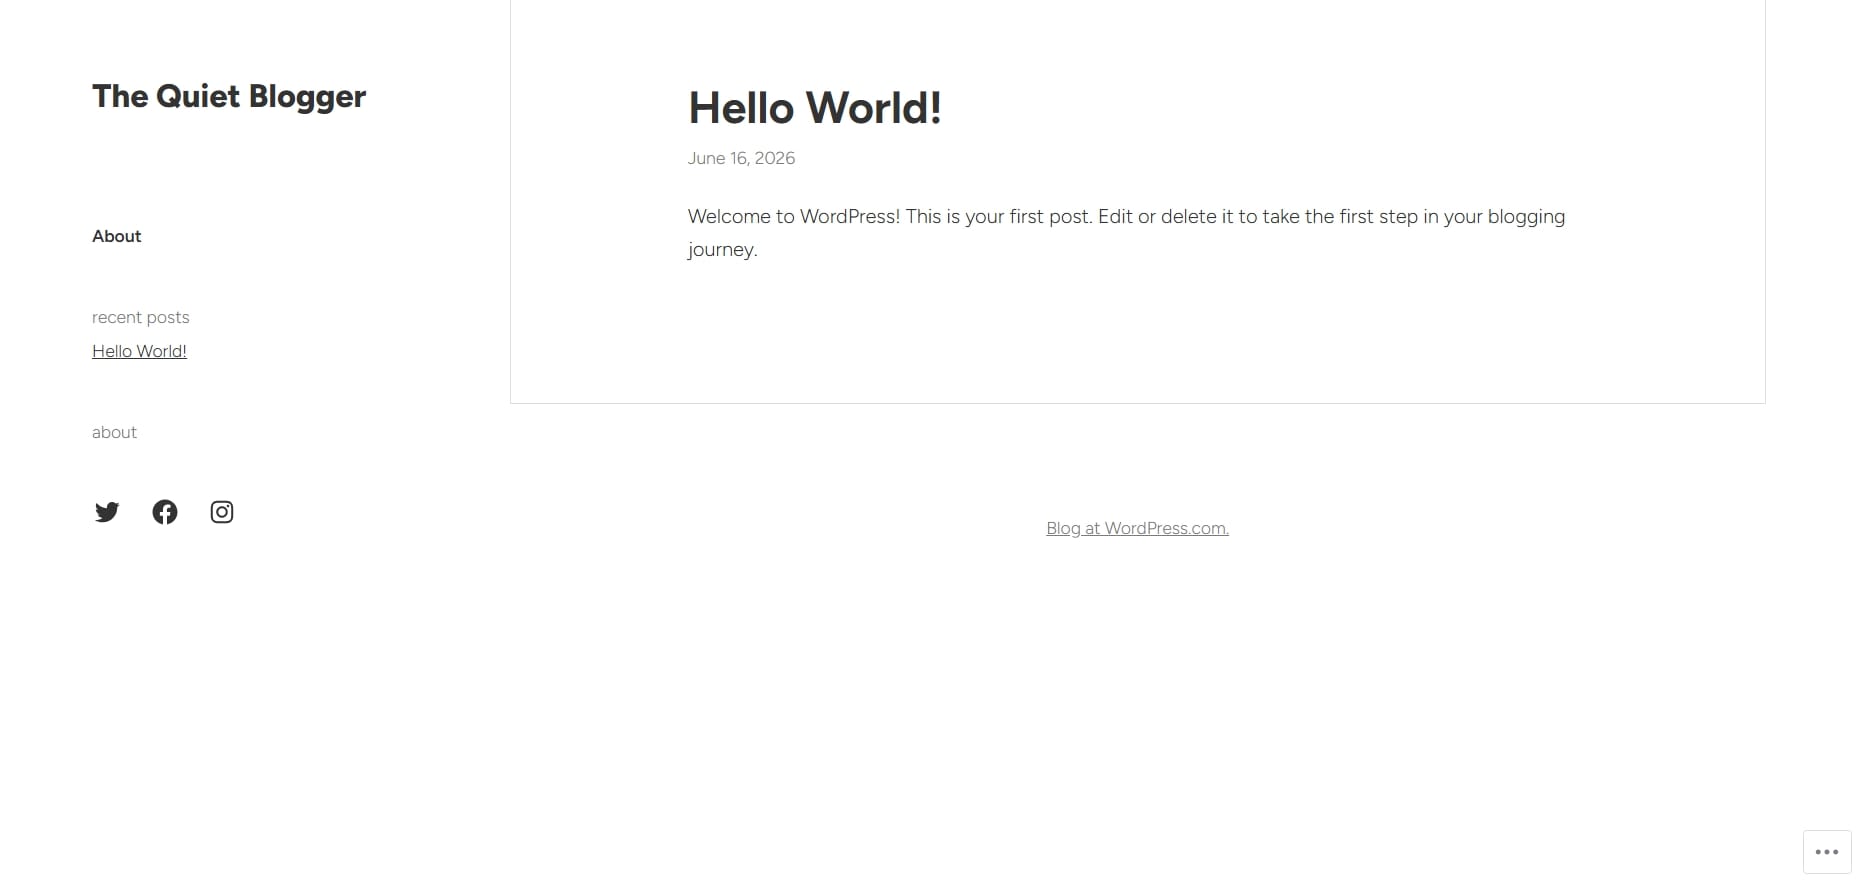
Here was my WordPress.com site before:
Here's the after:
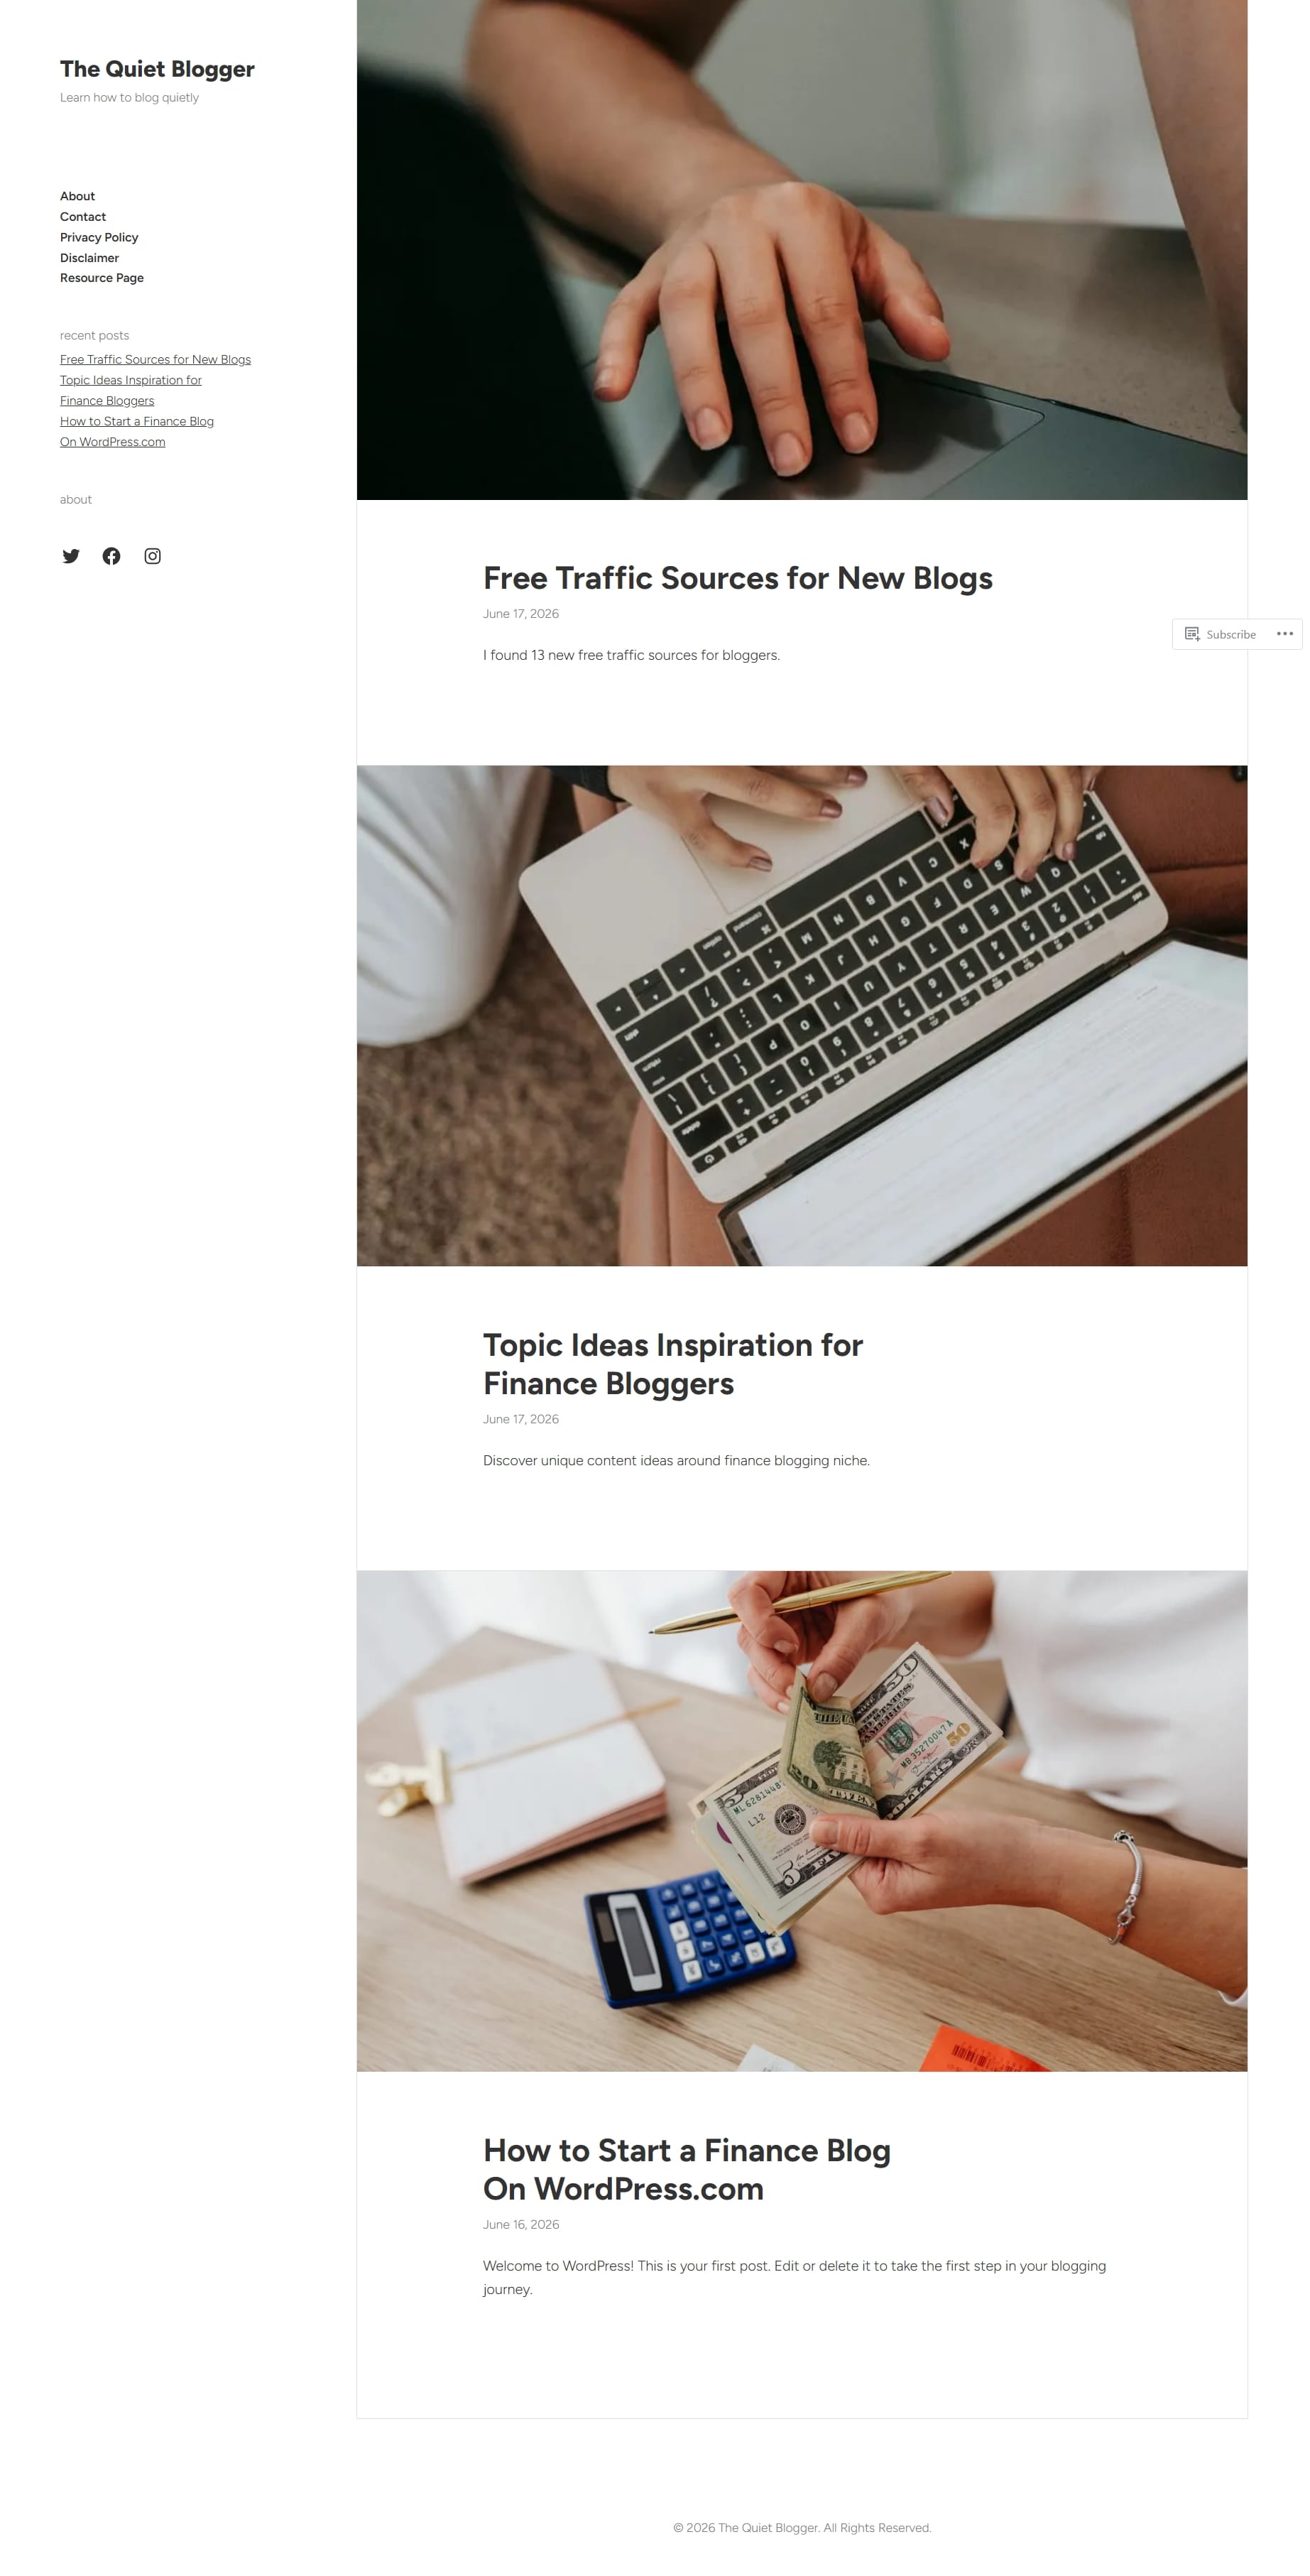
I added two more sample blog post to make the website look more fuller for this tutorial.
Cons of Using WordPress.com
No platform is perfect; here are some of areas WordPress.com fell short to me.
- Beginners may initially find it hard navigating through the site editor as it's a block-based editor not a full drag-and-drop editor.
- When you start installing plugins, your website costs will increase as each plugin has a separate subscription.
- You can't add custom themes below the Premium Plan.
Those are all the cons you should be aware of WordPress.com.
Step 4: Plan Content Before You Start Writing
After setting up your important pages, you need to plan your content. You probably must have already done this before you even setup your website.
You don't just wake up each morning and ask yourself, "What should I write today?". One of the biggest reasons blogs fails is lack of strategy.
Build a content plan. Start by researching what people are already searching for. They're so many search engine optimization tools that helps with keyword research and content planning.
Beginner finance topics often perform well because demand remains consistently high.
Examples include:
- How to start budgeting as a beginner
- Best budgeting apps for students
- How to save money on low income
- Best side hustles to make extra income
- How credit scores work
- Beginner investing explained
- How to build an emergency fund
- How to stop living paycheck to paycheck
Aim for problem-solving content and every article should answer a real question.
Step 5: Learn SEO Early
SEO (search engine optimization) is the reason blogs become valuable assets. Without SEO, your articles will not get discovered on search engines like Google and Bing.
SEO simply means optimizing content so search engines understand what your page is about. The better Google understands your content, the more likely people find you.
Keyword Research
Start by identifying search terms people actively use.
Examples:
- Best budgeting apps
- How to save money fast
- Best side hustles for beginners
- How to invest with little money
Write around existing demand.
Understand Search Intent
Search intent matters more than keyword volume.
- Someone searching: "How to start investing for beginners" obviously wants education.
- Someone searching: "Best investing apps" is comparing products.
Different intent requires different content.
Internal Linking
Connect related articles together.
Example:
A budgeting article should link to:
- Saving money articles
- Debt management articles
- Investing beginner guides
This improves SEO and keeps readers on your website longer.
WordPress.com gives you access to SEO plugins, clean URLs, meta title and description and so much more.
Step 6: Build Your Email List Immediately
One of the biggest punishments you can give to yourself as a blogger is not building your email list from day one.
Web traffic can disappear and Google rankings can change overnight, but your email subscribers belong to you. Even if your website disappears tomorrow, your audience remains.
So, it's very important that you start collecting emails immediately.
You can offer simple freebies such as:
- Budget templates
- Expense trackers
- Savings calculators
- Personal finance checklists
Email marketing helps you bring readers back, build relationships, promote products and increase affiliate revenue. And the best part is there are so many free email marketing software's to help you get started.
Step 7: Grow Traffic Beyond Google
Google should not be your only traffic source. Diversification helps protects your business. Consider:
- Pinterest: Excellent for educational content.
- YouTube: Finance tutorials perform exceptionally well.
- LinkedIn: Great for professional finance topics.
- Medium: Useful for republishing selective content.
- Newsletters: Direct communication with readers.
Step 8: Monetize Your Finance Blog
You do not need to obsess over monetization too early but it's also not a bad thing if your blog starts generating revenue at early stage.
The strongest methods include:
Affiliate Marketing
Here you earn money from recommending products you use or trust. You can recommend budgeting apps, finance courses, investing platforms, banking tools and accounting software.
Learn more about affiliate marketing for bloggers →
Display Advertising
Once traffic grows, you may choose to put ads on your website.
Sponsored Posts
Some brand may reach out to you to write sponsored blog posts for them as well as you can reach out to brands yourself.
Digital Products
If you're good at building something like budgeting templates, spreadsheets, finance planners, you can sell them to your readers. You can also package your knowledge into ebooks, apps and courses.
Consulting
Later on, your readers may pay for personalized guidance. Monetization becomes easier when trust exists first.
Step 9: Treat Your Blog Like a Real Business
To be a successful blogger, you must track your data. Make sure to monitor your monthly traffic growth, top performing articles, search rankings, email subscribers, affiliate clicks and conversion rates.
Blogging is not random writing. It's building digital assets. Every article becomes part of your business.
Step 10: Stay Consistent Longer Than Most People
If you quit too early, you'll just end up being one of those failed bloggers who goes about saying "blogging is dead".
Your first six months might feel disappointing. I remember when I started my first blog, it took me eight months to make profit off it. Although I wasn't entirely consistent and I know if I was, I would have profited earlier.
I created the blog majorly just to sell my digital products; my major focus was on my products rather than the blog itself. It was kind of funny because my first profit didn't come from the products I sold but from a sponsored blog post.
It was then it occurred to me that I could earn from blogging itself and ever since I took blogging much more seriously. I also made so many mistakes, among them was hosting my blog on the wrong platform which ended up eating into my growth, and I had to move to another platform which wasn't easy at all.
WordPress.com is a very great blogging platform. It grows with you and never limits your business.
The whole point of what I'm saying is blogging compounds slowly, then suddenly progress accelerates as you put in the effort.
The people who win are often not the smartest. They simply stayed consistent longer.
Final Thoughts on Building a Finance Blog on WordPress.com
You do not need to know everything before starting. You simply need a willingness to learn, publish consistently, and focus on helping people solve real financial problems.
Choose your micro-niche, build your website, create genuinely useful content, learn SEO, build an audience and most importantly, stay patient.
Given enough time, a simple finance blog can completely change your future.